
Corvette bodies are sexy with their smooth flowing line, except when it comes to the rubber bumper covers that made their first appearance in the 1973 model year. For those owners who are tired of the wavy look of urethane bumper covers, or those who have had it with the inevitable hardening and cracking of the original ‘rubber’ covers, a fiberglass replacement cover is the choice. TRUFLEX fiberglass covers use a proprietary resin that gives the covers a degree of flexibility to better fit the variances in fiberglass bodies. And for those who want perfection, fiberglass or body filler can be applied to these covers to perfectly match the fenders and upper panel. The new bumper won’t look like the original — it will look much better. And the cover can always be unbolted if sometime in the future it is desired to return to original style rubber bumper.
The steps in this 1973-1974 TRUFLEX bumper cover replacement article are nearly the same in replacing covers on many other years. The different steps in installing a urethane cover are shown in the Zip Corvette Tech article 1973-1974 Corvette Urethane Front Bumper Cover Replacement.
Follow along to see the steps for removing the old urethane bumper cover and installing a new TRUFLEX fiberglass bumper.
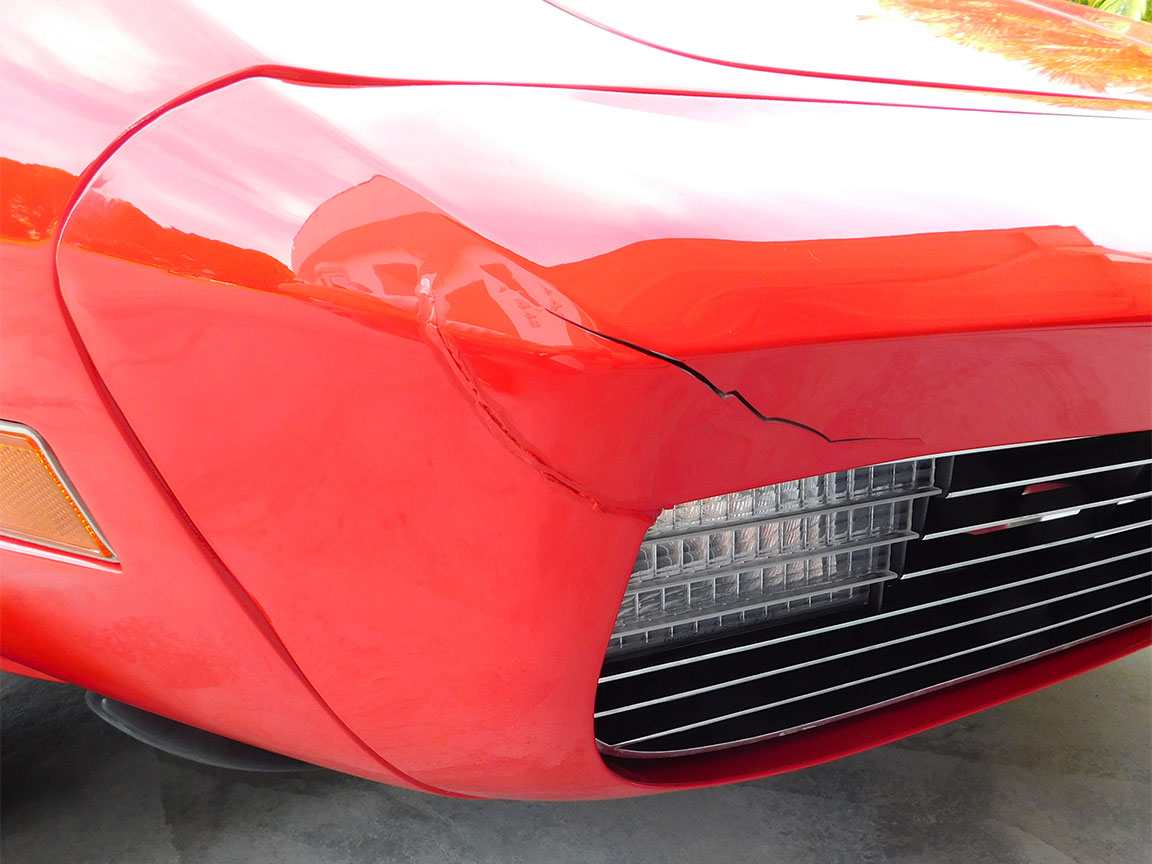
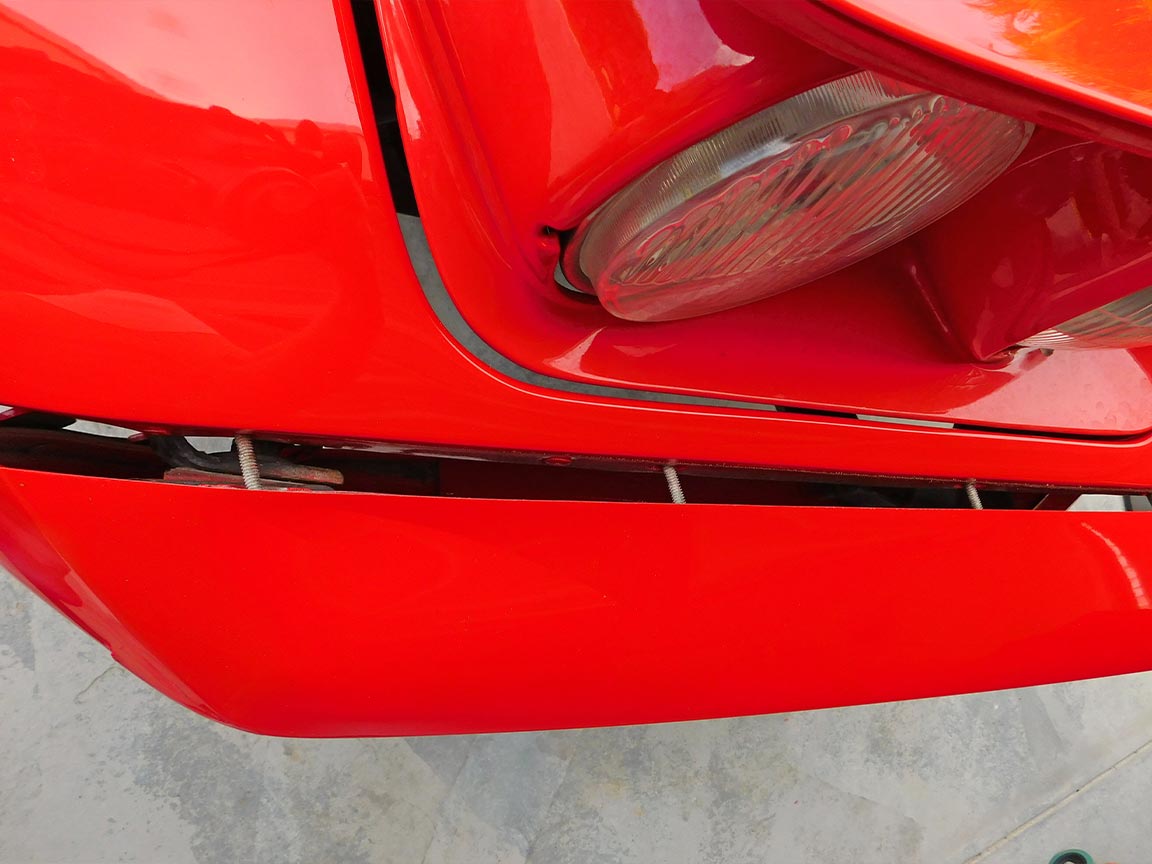
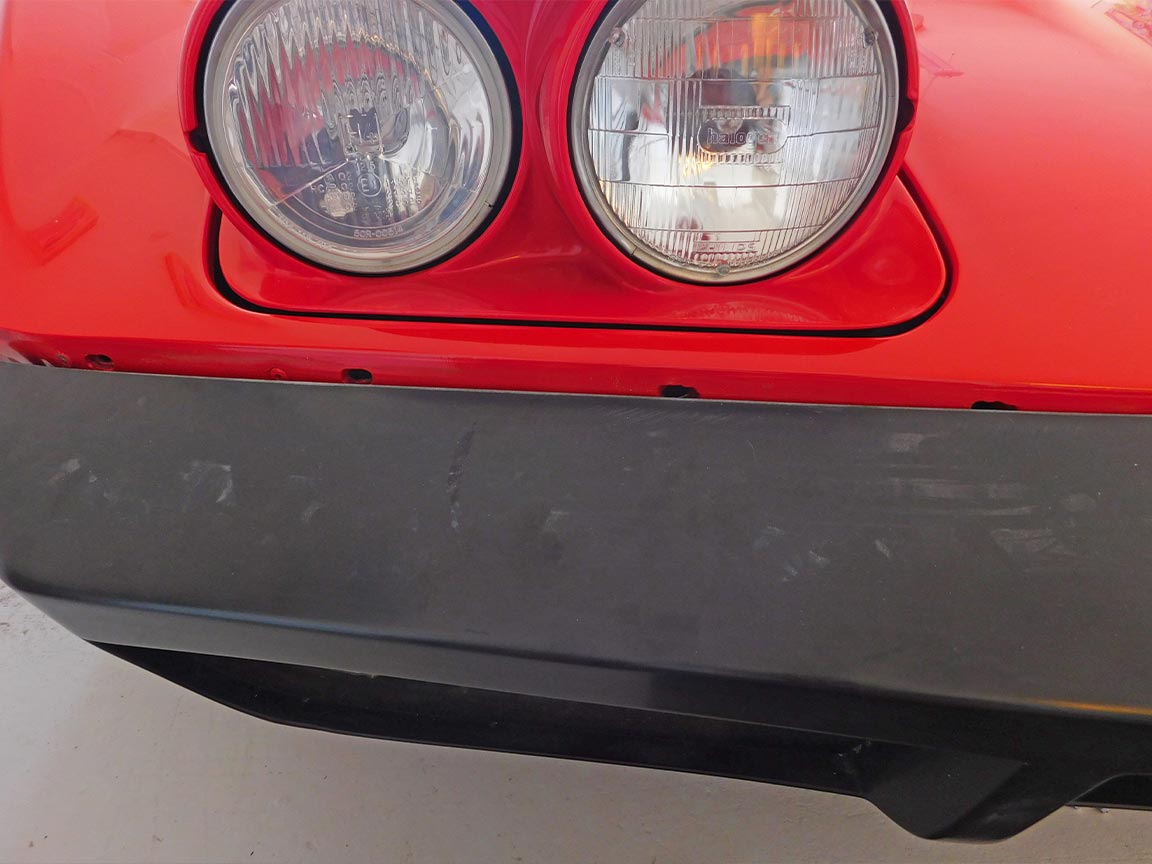
01: After 12 years on the car, a small crack appeared at the top center of the urethane bumper cover. Within a year, the side split wide open. There was not a scratch or rub mark on the paint, so this was not the result of a parking tap. Over the next few months, the cover cracked and separated in other places too.
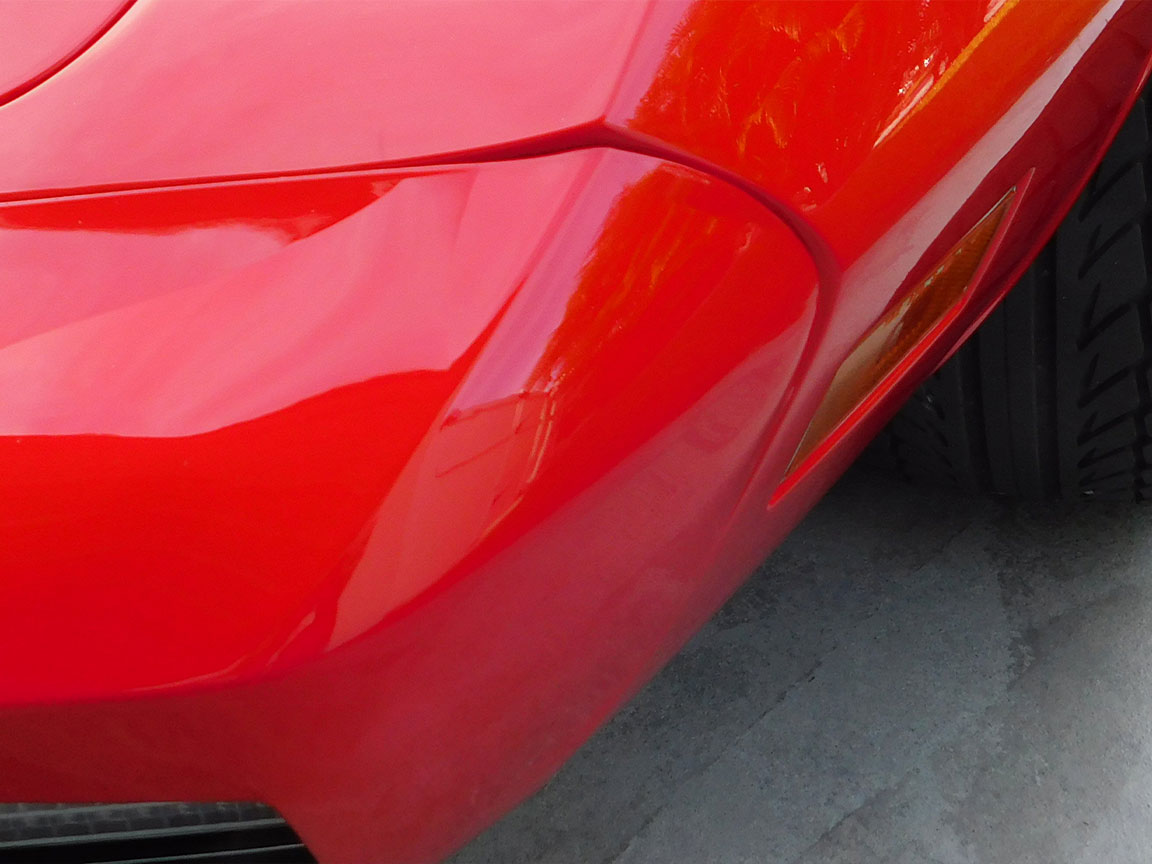
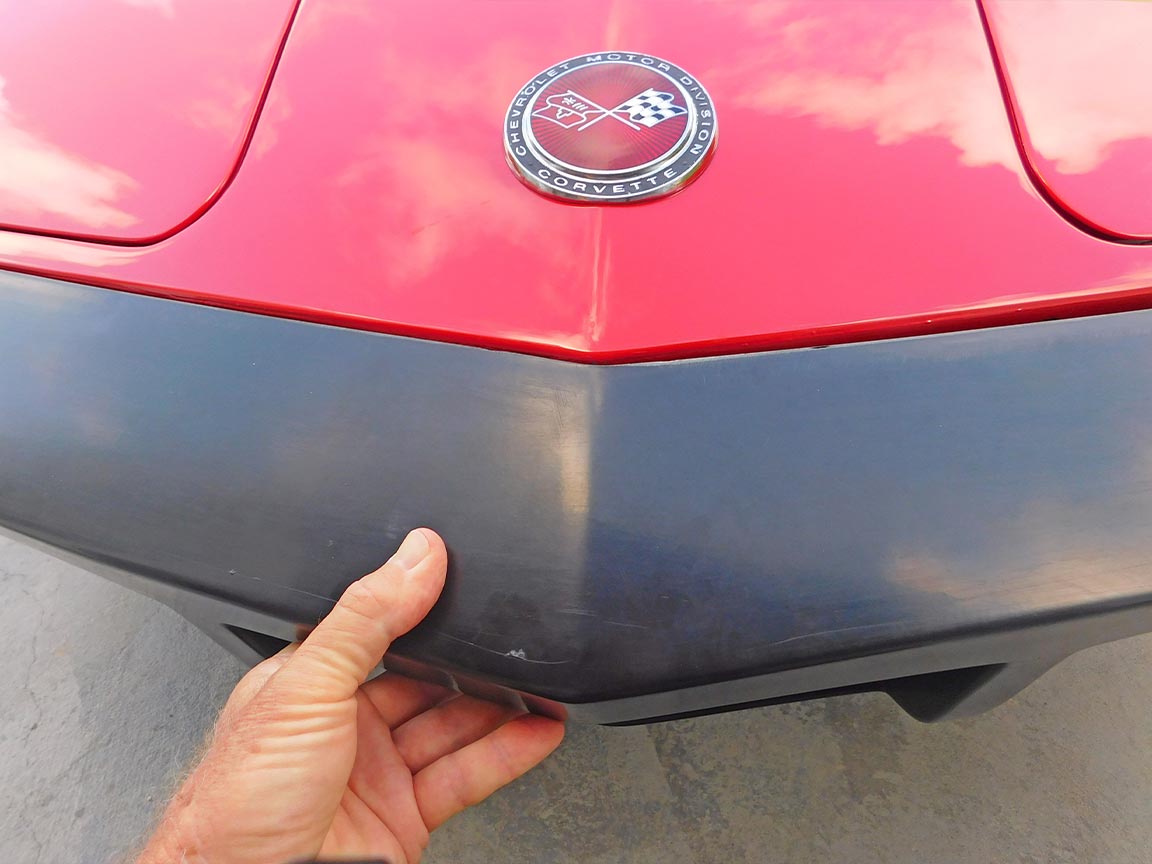
02: Inspect the fit of the old bumper cover, or better yet photograph the fit at the fenders and upper panel. The fit is rarely perfect. It’s good to remember this when installing and adjusting the fit of the new cover.
03: Remove the grills with a Phillips screwdriver. If any of these screws are missing or damaged, Zip Corvette offers them in a set 1970-1974 Grill Mount Screws. More information on removal and installing of grills is shown in the Tech Article 1973-1979 Corvette Front Grill Replacement.
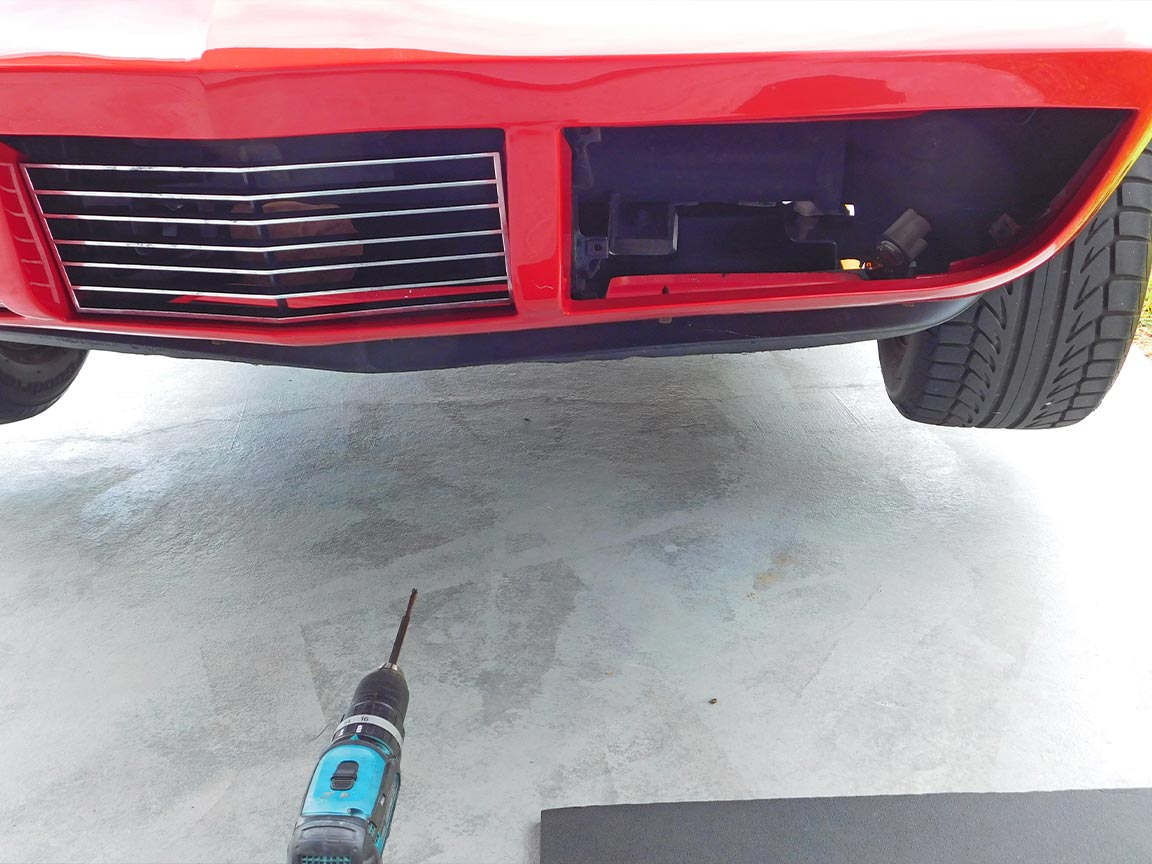
04: Remove the lower valance and note any differences in the fasteners. The front spoiler doesn’t have to be removed but it’s a good time to install a new 1973-1979 Stock Front Spoiler if the old one looks abused.
05: Note the fasteners on the rear of the panel were machine screws but one was replaced with a sheet metal screw and clip. It’s not uncommon for these to be lost or changed. Zip Corvette offers a 1973-1979 Front Spoiler Bolt Kit.
06: Two nuts attach the bumper cover on each side and are relatively easy to access with a 3/8-inch socket on a ¼ -inch drive.
07: The upper outer nuts on each side are not visible but can be reached with a 3/8-inch socket on a short extension and ¼-inch ratchet.
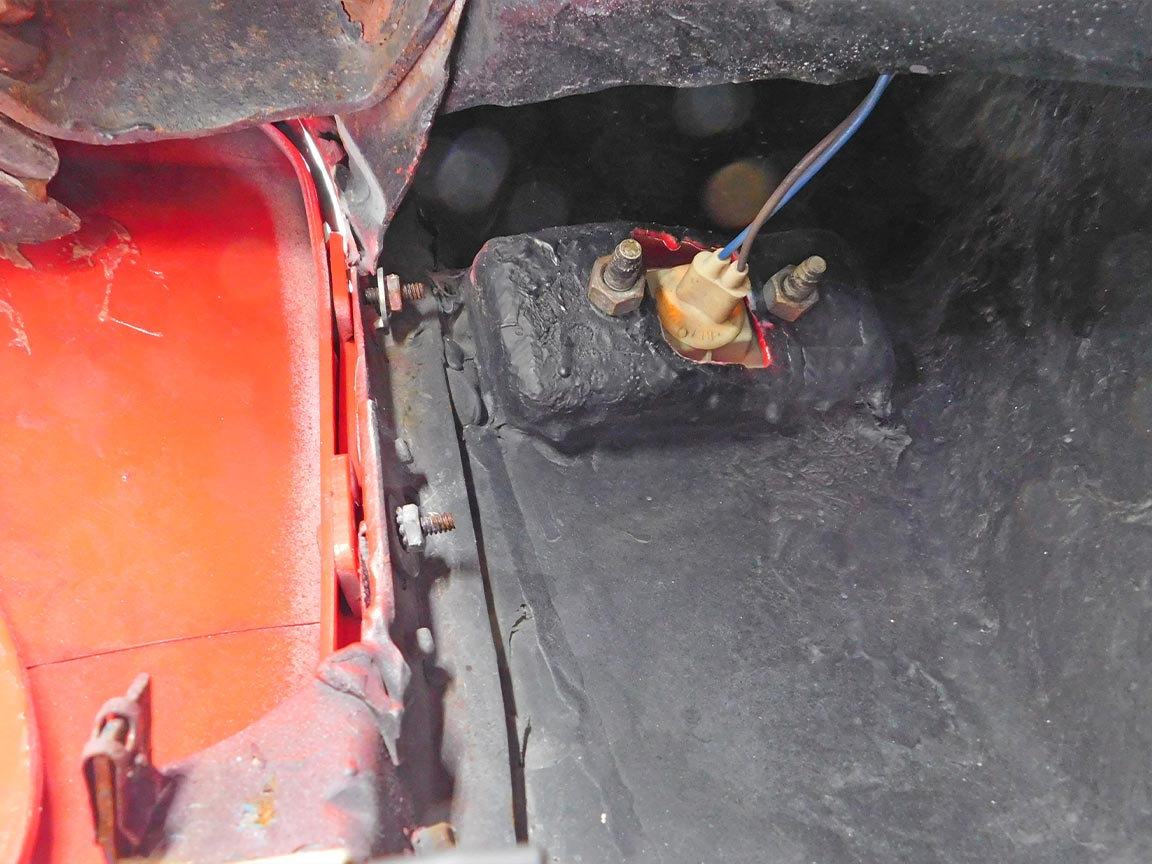
08: A front cushion may have to be removed for access to the two upper center nuts.
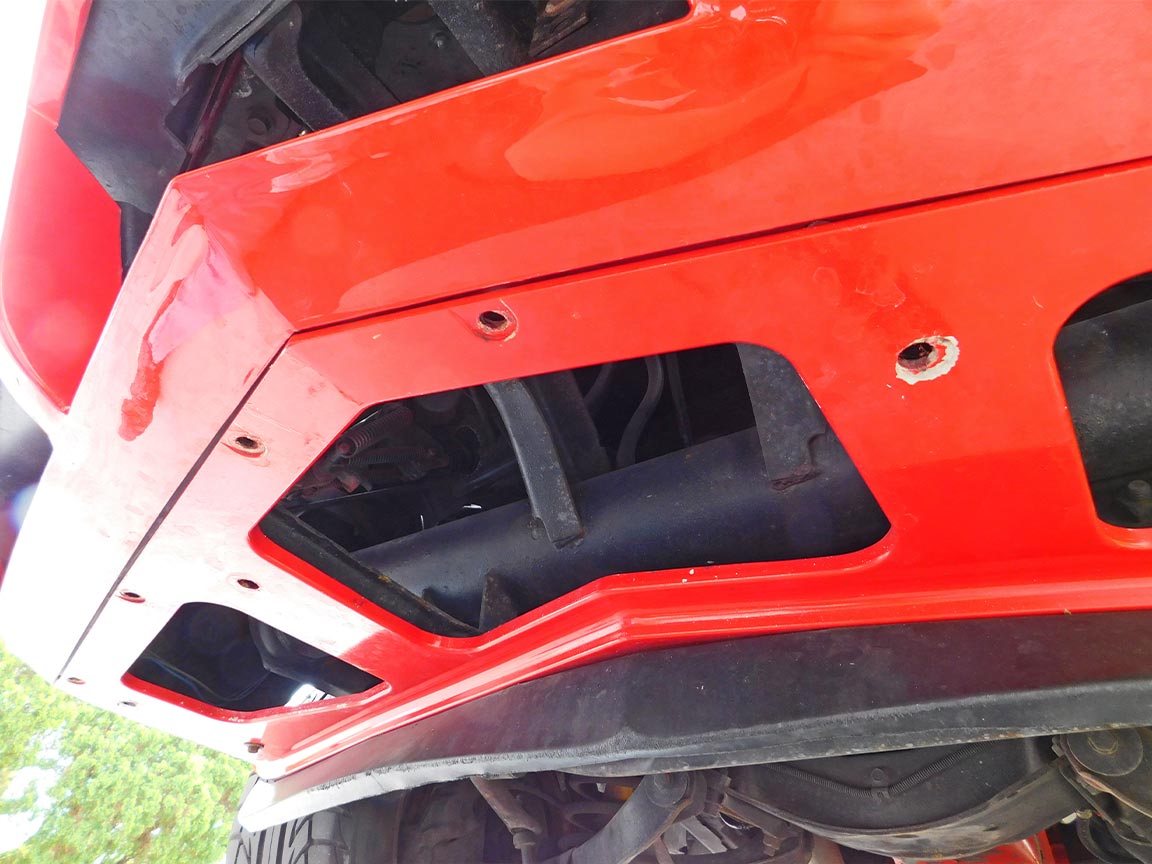
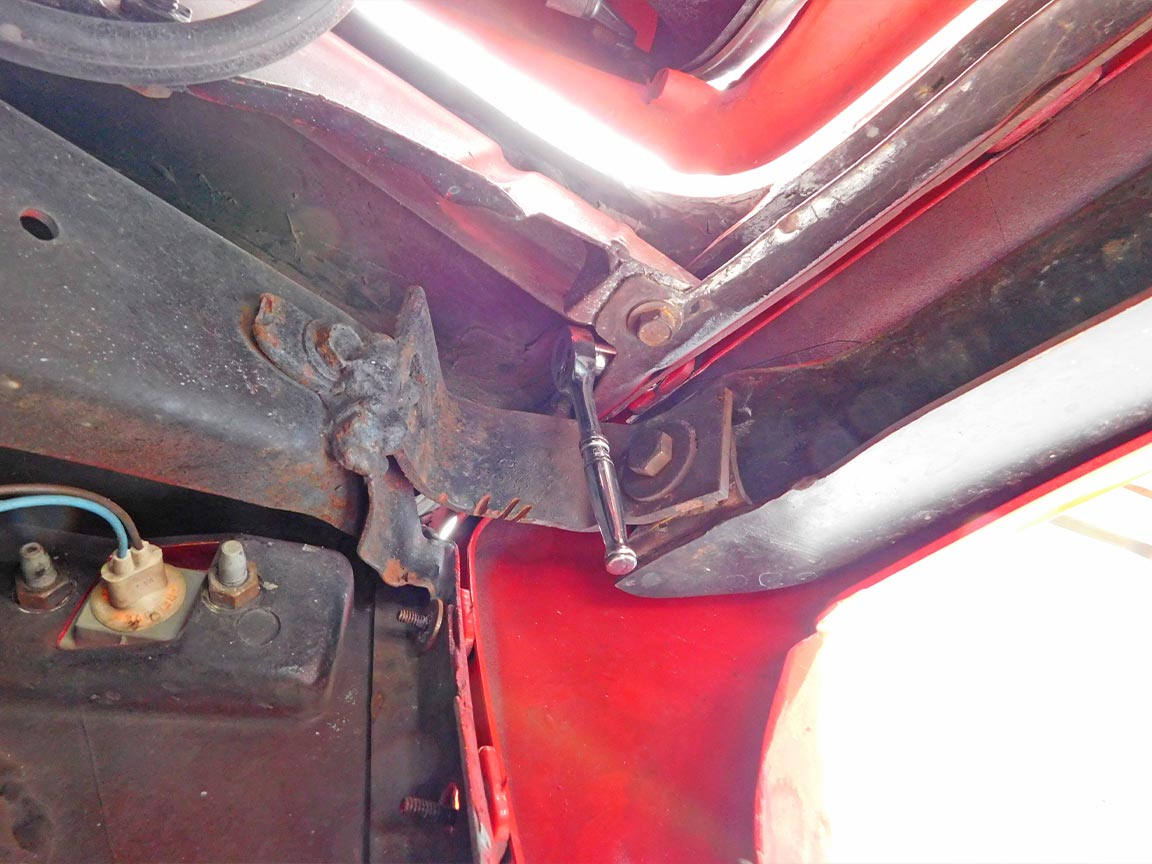
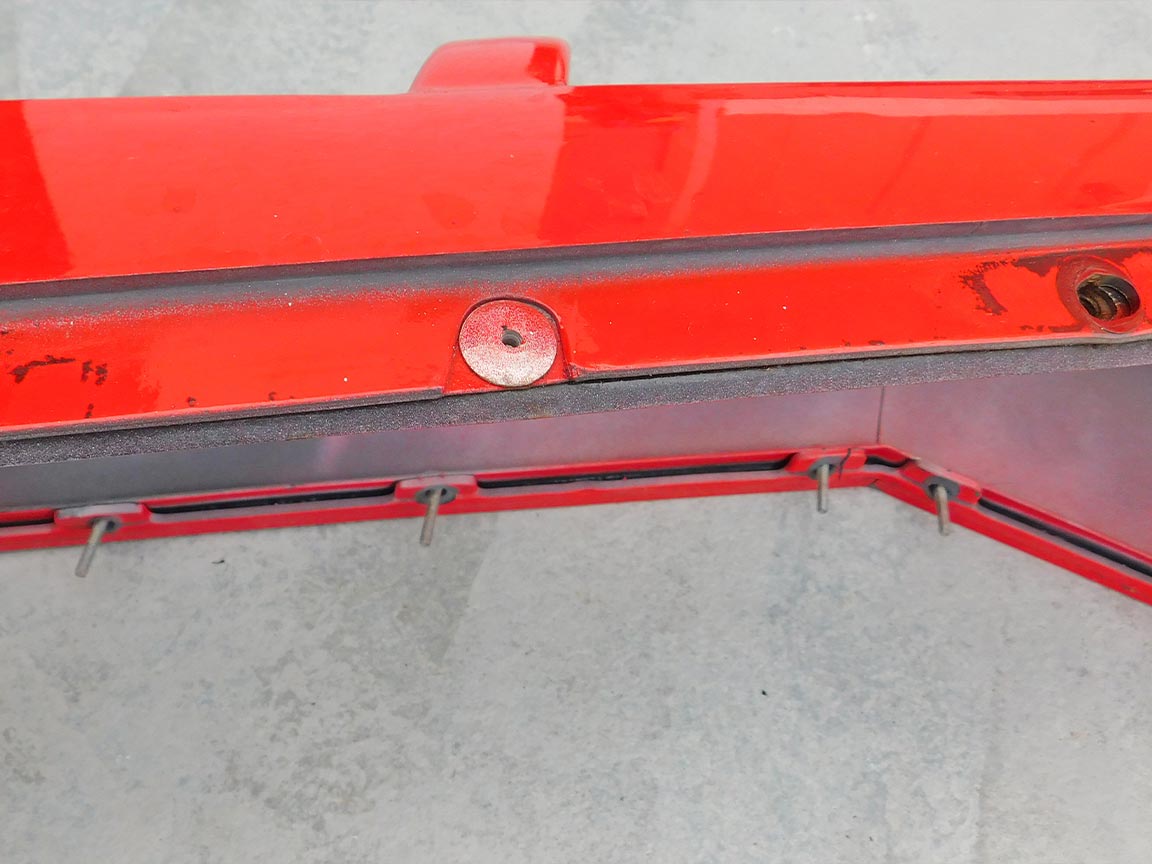
09: This shows the position of the remaining three upper studs and nuts on each side. The headlight covers can be removed for access to the nuts from the top. However, I find it easier to leave the headlight bezels in place and remove the nuts from below. Plus, there’s no risk of chipping the paint while removing the bezels.
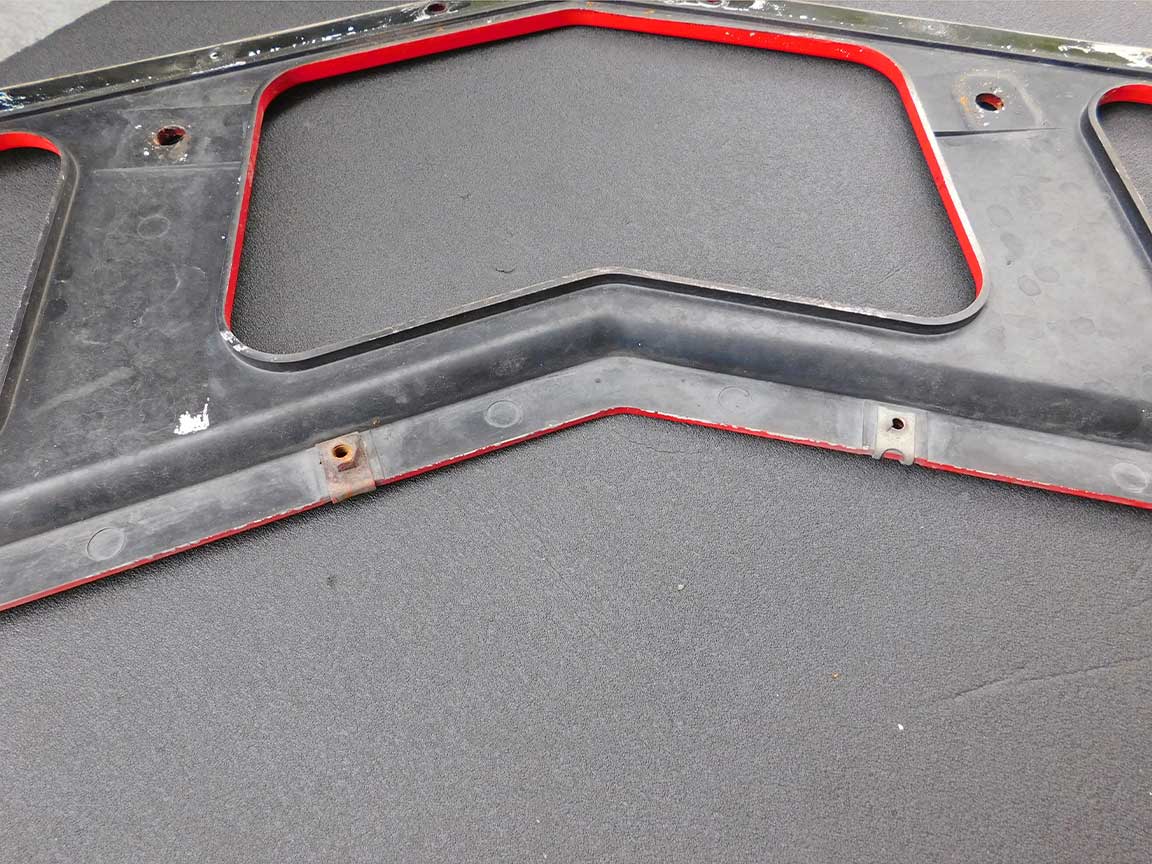
10: Drill out the old rivets with a 3/16-inch bit and remove the old urethane bumper cover from its steel lower retainer if you want to save it. The TRUFLEX bumper cover can bolt directly to the lower valence.
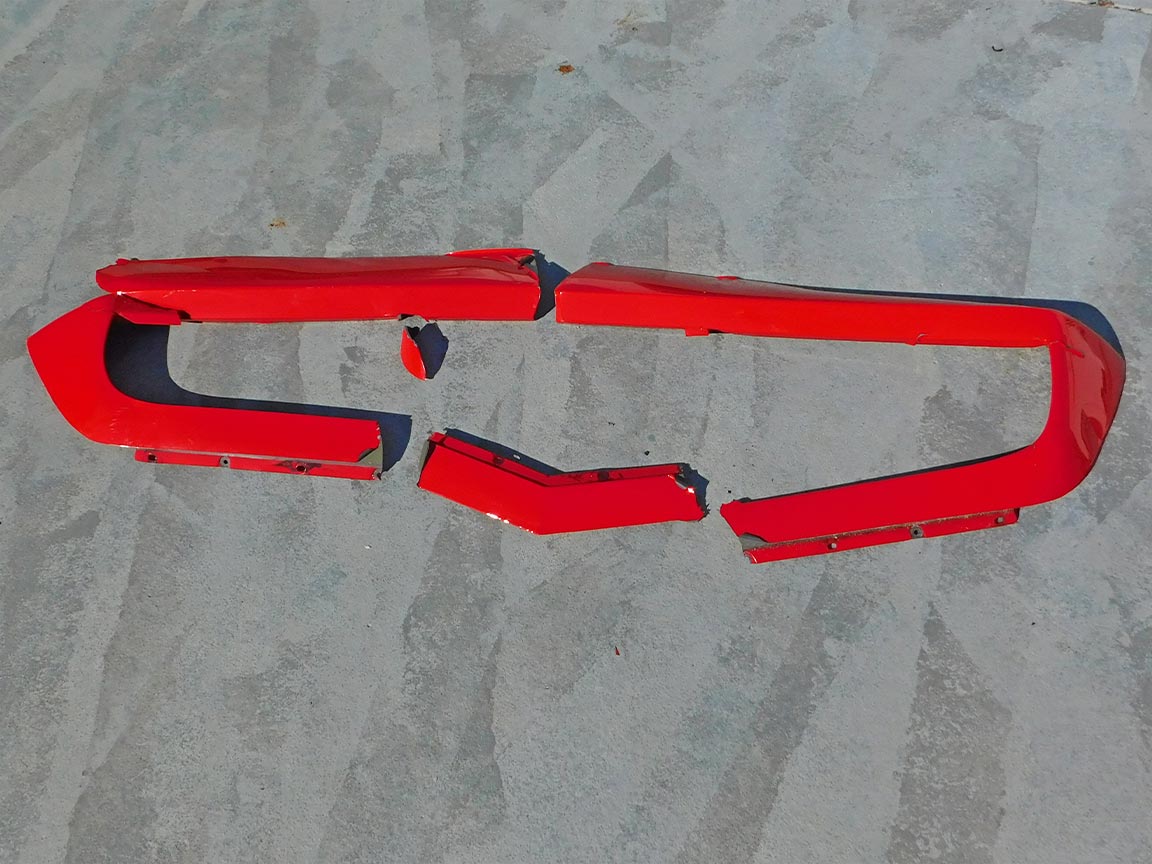
11: The old urethane bumper cover broke into pieces upon removal. It turns out that the paint was the only thing holding it together.

12: The heavy steel front bumper impact bar is exposed when the cover is removed. It is not likely that it will interfere with the fit of the new cover but this will need to be checked. If a rubber bumper filler strip is attached, remove it.
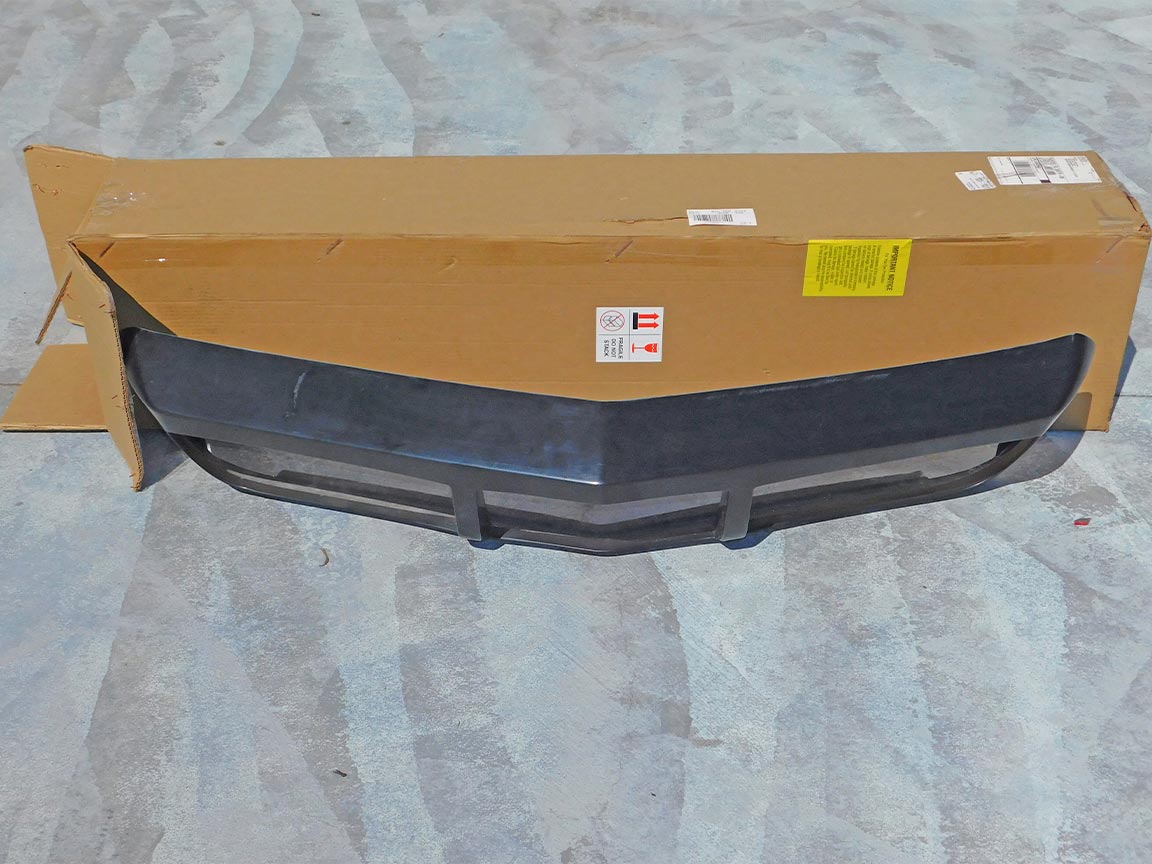
13: The new 1973-1974 TRUFLEX Front Bumper Cover arrived in good shape in a heavy duty box. Detailed instructions were included.

14: Make sure to buy the retainer set, 1973-1974 Front Bumper Cover Stainless Retainer Kit. The TRUFLEX fiberglass will not bend enough to allow installation of the three original cover retainers. The T-shaped studs are stainless steel, include the nuts and are made in the USA.
15: Gently sand off the small amount of flashing on the rear edges. 220 grit paper and a sanding block works well. Don’t be aggressive with the sanding. The bumper cover fiberglass is thin, varying from 0.080 to 0.100-inch.
16: Hold the new bumper cover up to the car and position the cover until the fit is satisfactory. Then scribe lines on the upper rear surface of the cover to match the location of the slots in the body’s upper panel. Don’t go by the indentations in the cover; they are only approximate.

17: Use a 1/8th-inch bit to drill a center hole and then use a 5/16” drill bit, tilting it to cut an oval slot. Finish the slot with a side cutter bit in a Dremel tool. Alternately, just drill a 3/8-inch hole.
18: Install the bumper cover, check its fit and adjust as necessary. A good place to start is aligning the center ridge on the bumper cover to the upper body panel.

19: Tip: Spring clamps are a big help in holding the bumper cover to the car during installation if a helper isn’t available.

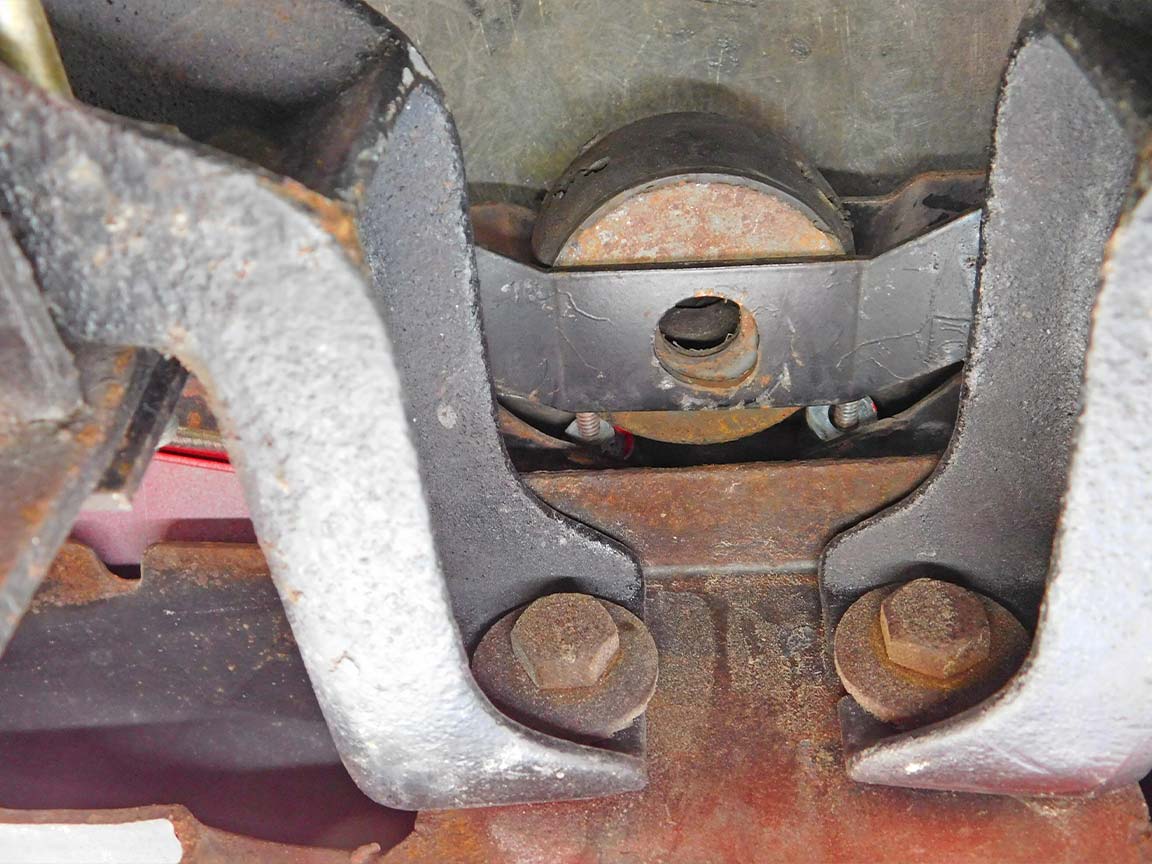
20: If either end of the impact bar is holding the cover out too far, its brace can be adjusted where it’s attached by 2 bolts to the frame horn. If the brace is damaged, Zip Corvette has new 1973-1974 Front Bumper Outer Braces.

21: If the bumper cover can slide down a little, then there is no problem with the bar’s height on this end interfering with the cover.

22: If the center of the bar is pressing on the cover, some adjustment can be made at its center mount. Usually this isn’t necessary.

23: Due to variations in a Corvette’s body, the new bumper cover may fit your Corvette’s body very well or the lower portion cover fender may be a little inward of the fender on either or both sides. The TRUFLEX bumpers have some flexibility to help adjust for this. Or, if the front end is being repainted, the cover can be built-up to match perfectly.

24: Tip: The TRUFLEX bumper cover can be taken to the paint shop along with old pieces for color matching.
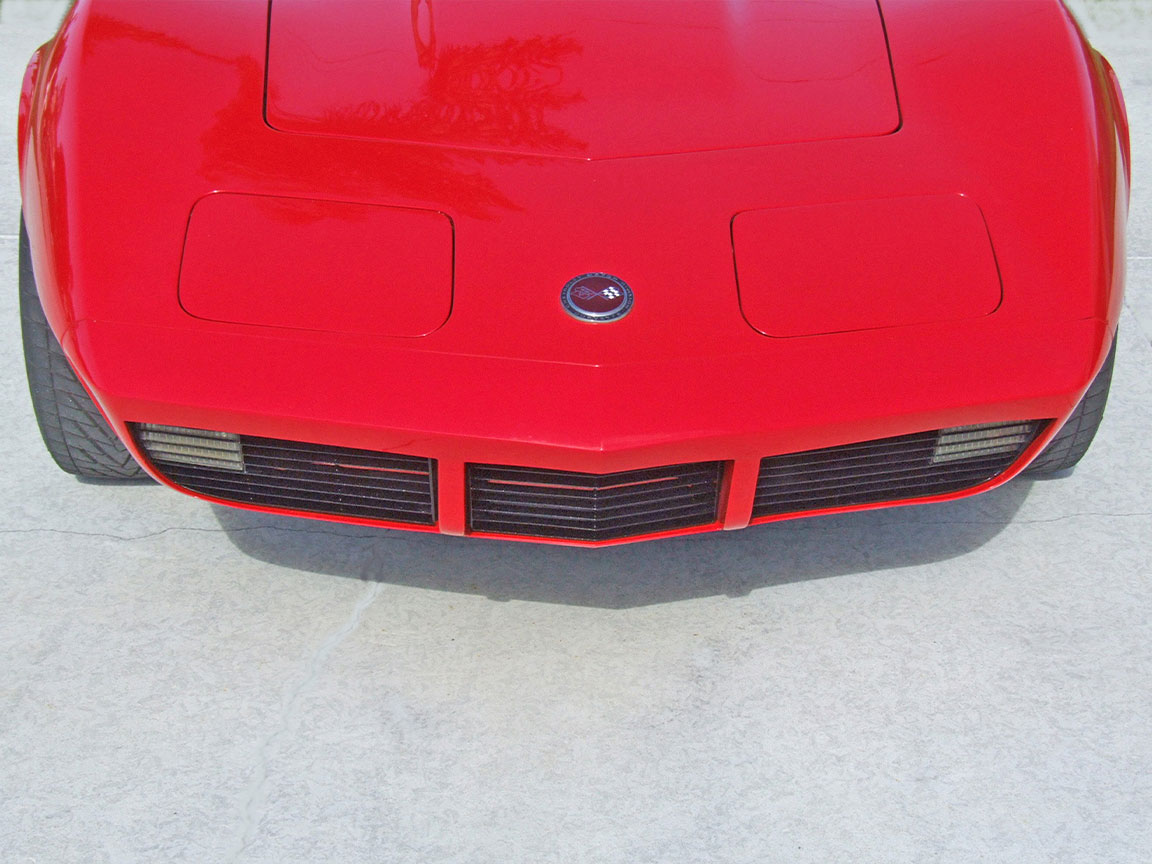
25: After painting, the installation can be completed. No more wavy bumper cover and no worry about the rubber deteriorating with the TRUFLEX bumper cover.
1973-1974 Corvette TRUFLEX Front Bumper Cover Installation
Source: Zip Corvette Parts
8067 Fast Lane | Mechanicsville, VA 23111 | (800) 962-9632
Corvette Parts List Related to Article:
- 1973-1974 TRUFLEX Front Bumper Cover
- 1975-1979 TRUFLEX Front Bumper Cover
- 1975-1979 Front Bumper Cover Stainless Retainer Kit
- 1973-1974 Front Bumper Cover Stainless Retainer Kit
Related Corvette Tech Articles: