
by John Pfanstiehl
The door striker is a part that gets used twice every time you get into your car (assuming you get out of it). However, like many things that are used so often, it gets overlooked.
Yet it is one of the easiest parts to replace and you won’t even get your hands dirty. A new striker can hold the door more securely when closed plus makes a big difference in the appearance of the door jamb.
Follow along as we replace and adjust the strikers on a C3 and provide a few tips along the way.

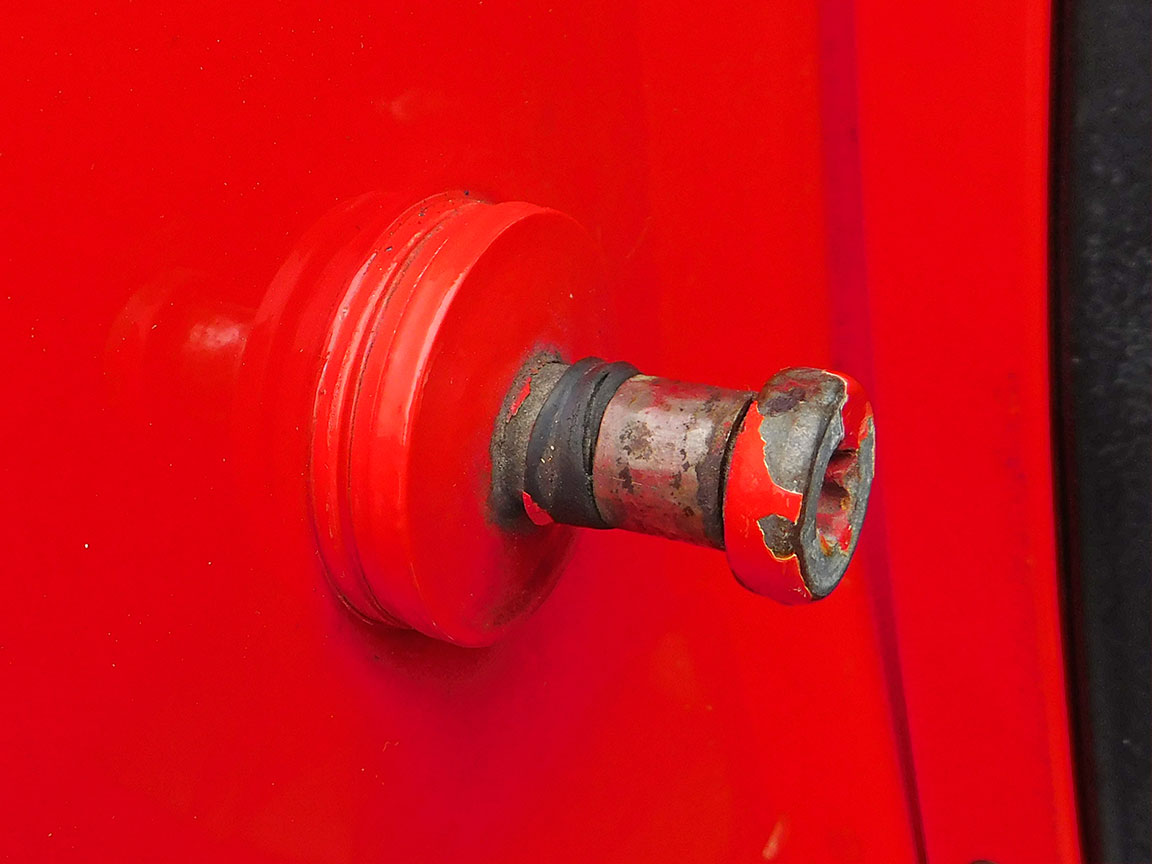
01: The old driver’s side door striker became pretty dingy looking after decades of use. According to the NCRS judging manual, the original 1973 striker was cadmium plated and the spacers were gray phosphate plated. Both of these are relatively fragile finishes that eventually degrade.
02: The rubber cushioning material has been squeezed out of the passenger side door striker. The paint covering the shims is evidence that the striker was not removed, or masked, during a repaint.

03: Note the alignment of the door to the body. The striker position can be adjusted to move the door in or out but is not designed to move the door up or down.
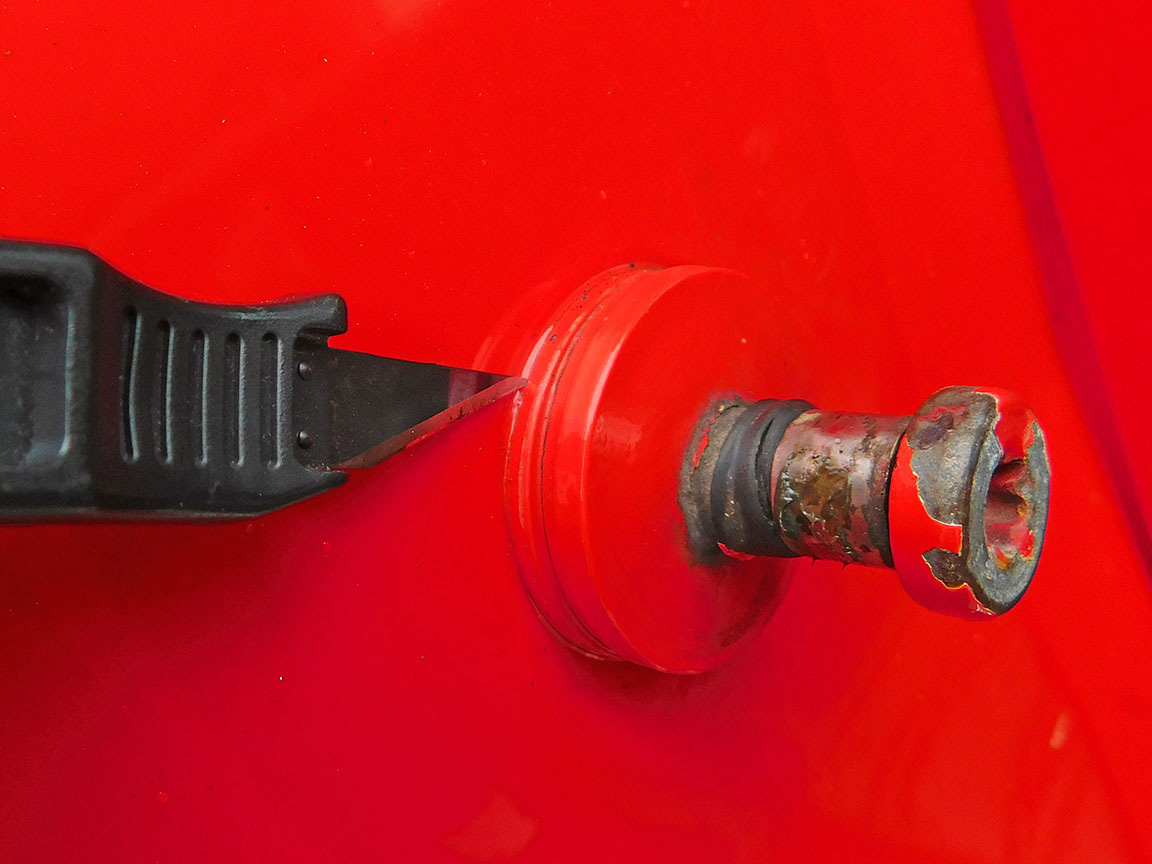
04: Tip: Use an X-Acto knife or similar sharp blade to cut any thick body paint that is on the shims. This helps prevent the paint from peeling or chipping off the door jamb when the washers are removed.
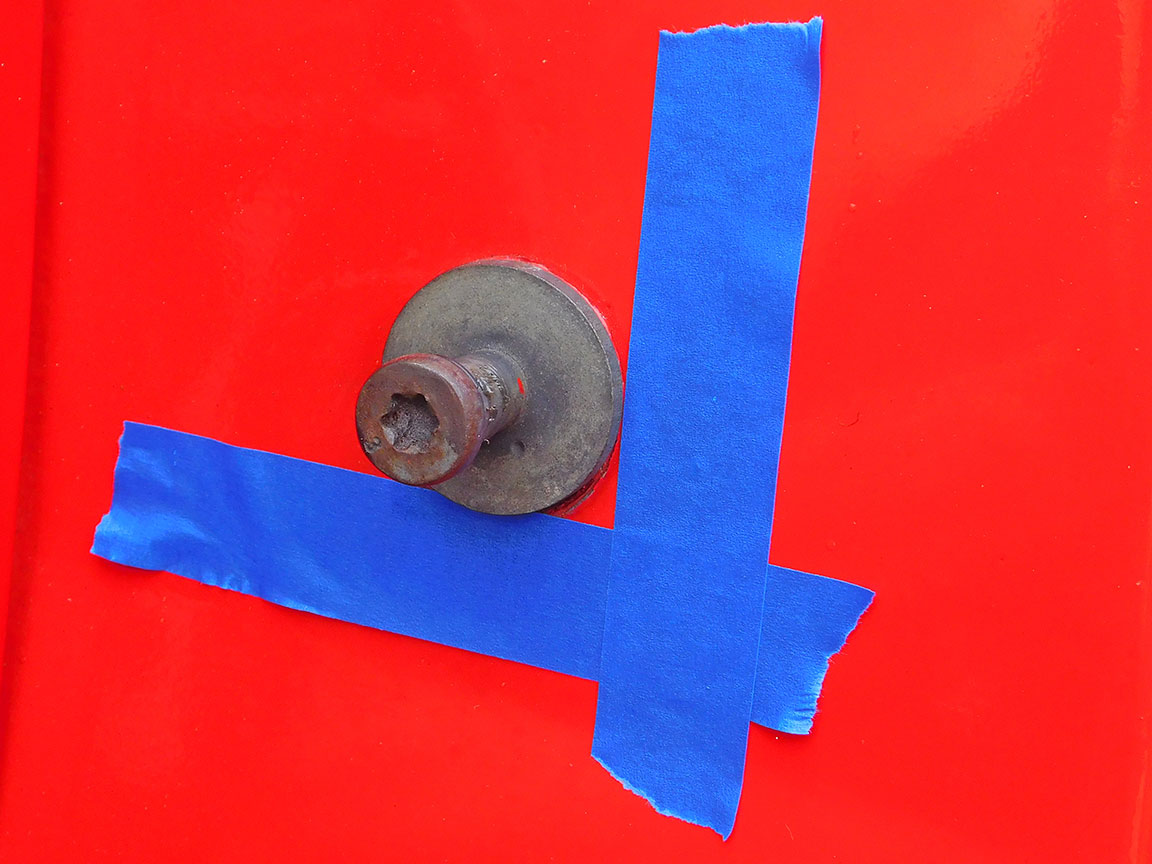
05: Placing tape on the door jamb helps to show the position where the striker was adjusted when the striker or spacers were not painted over.
06: Tip: Apply a little grease on the door latch mechanism and wipe clean the contact area of the door striker. This will show where the door latch engages on the striker.

07: Close the door and then open it to see where the grease is on the door striker. This grease mark shows that the latch mechanism is engaging in the center of the striker’s contact area.

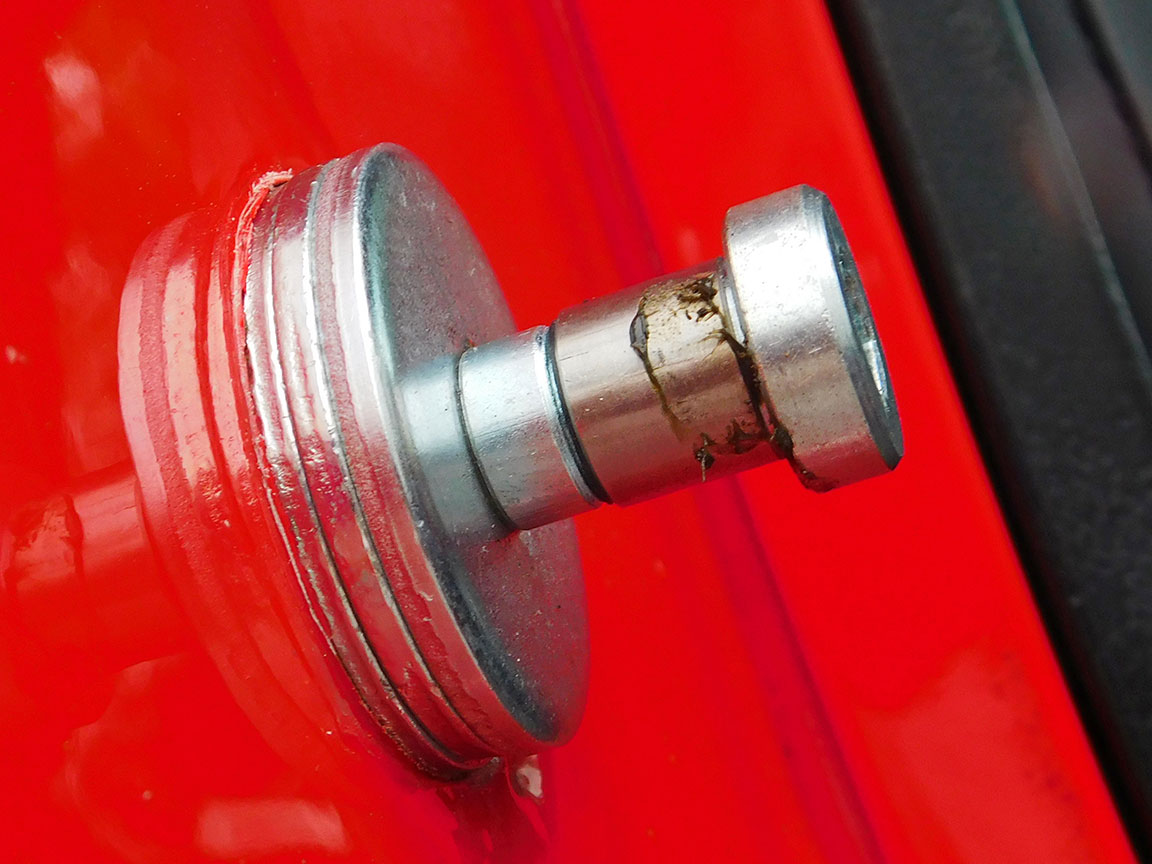
08: The old door striker had a T47 Torx head. If that tool is not available, a ¼ inch Allen wrench can work to remove it. If the striker is too tight or if its threads are rusted, use locking pliers instead to grasp the head of the striker.

09: Zip’s new reproduction 1968-1982 Door Latch Strikers and their spacers for C3s are a big improvement in function and appearance. The door strikers are sold individually and 1968-1982 Door Latch Striker Spacers (also called washer/shims) come two to a pack. Both are made in the USA. Tip: order two more spacers than the car currently uses.

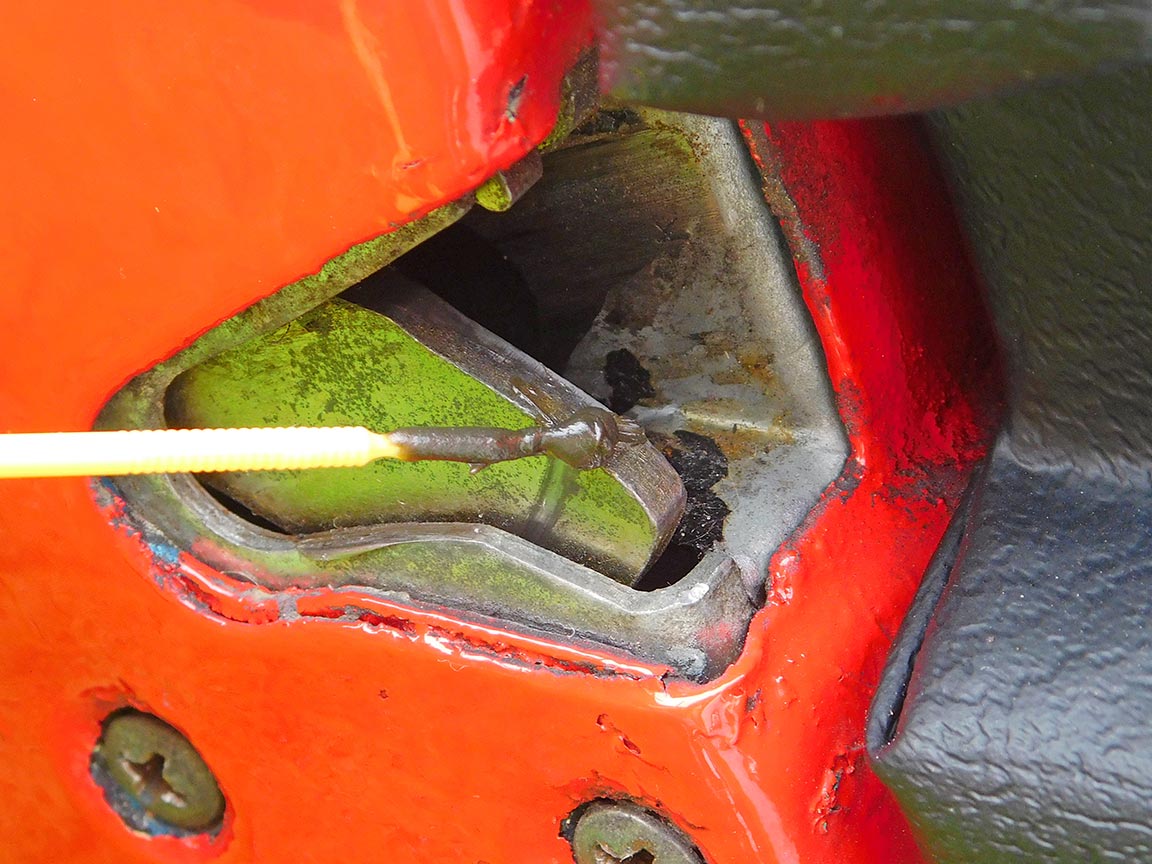
10: The door striker’s nut is in a cage that allows a considerable amount of adjustment in all directions.

11: Tip: Hold the door striker’s spacer and turn the striker all the way in until it is flush with the spacer. Rotate it until it turns freely to remove any burrs. This makes positioning of the spacers easier because the striker will not drag the spacer with it when it is tightened.

12: Apply a little grease or oil on the door striker’s threads to aid in this installation or in future removal.

13: Tip: Before installing the spacers, screw the striker all the way in to make sure the threads do not bind.

14: Install at least the same number of spacers that were on that door striker and install the striker. Hold the spacers in place while tightening the striker with an 8 MM Allen wrench.

15: Tighten the door striker to 35-50 LBS-FT per the factory assembly manual. Caution: don’t go Incredible Hulk on this because it compresses the door jamb fiberglass.
16: Apply a little grease to the door latch mechanism again and close and open the door to see where the door latch engages the replacement striker. This shows that it engages near the forward end of the contact area. Installing an additional spacer would center the latch on the striker’s contact area.

17: The replacement door striker is shorter than this old striker by the thickness of a spacer. Installing an additional spacer on the replacement striker will bring its contact area to the same position as the old striker.

18: Installation of Zip’s new replacement door striker and spacers takes only minutes. The new part holds the door more securely and makes a major improvement in the appearance of the door jamb.

19: While in that area, inspect the retainer strips that hold the rear interior quarter panels. If the paint is abraded, it is rubbing on the door panels. To protect expensive door panels from wear, the door striker could be adjusted a little outward.

20: Also inspect the door panel’s Velcro clips. Lack of engagement causes the door panel to hang inward from the door. This is one cause of door panels rubbing against the retainer strips.
1968-1982 Corvette Door Striker Replacement
Source: Zip Corvette Parts
8067 Fast Lane | Mechanicsville, VA 23111 | (800) 962-9632
Corvette Parts List Related to Article:
I have a stripped on the strker bolt on my 75 vette.
Any suggestions on how to fix?
Hi why does my door pop open when I’m driving. 1980 corvette