
by John Pfanstiehl
Blower motor troubleshooting is straightforward on C1 and C2 Corvettes. Thankfully, there are no computers or black box modules to complicate things. Repair is also straightforward. Plus, the parts are available, reasonably priced and fairly easy to replace.
The entire circuit is comprised of only a fuse, a switch, wires, a resistor and of course the blower motor. If equipped with air conditioning, there’s also a relay fed by a wire and a fuse. The purpose of this relay and additional wire is to bypass most of the car’s electrical system to deliver a maximum amount of voltage to the blower to generate the maximum amount of air flow.
Although this tech article covers 1963-1982 Corvettes, the procedures apply to earlier and some later models too. We’ll start by looking at the bypass circuit and work our way back to the rest of the system.

01: On air conditioned cars, if the blower works on all the speed selections of the fan switch except the maximum fan speed setting, the problem will be easy to find. Of course, the ignition key needs to be in the run position and the left thumb wheel is turned down from the “OFF” position.

02: The junction block on the horn relay is located on the left inner fender. Follow the larger diameter (8 ga) short red wire to its inline fuse (30 A). Inspect the wire, the fuse and its contacts. If that’s all good, move on to the relay.
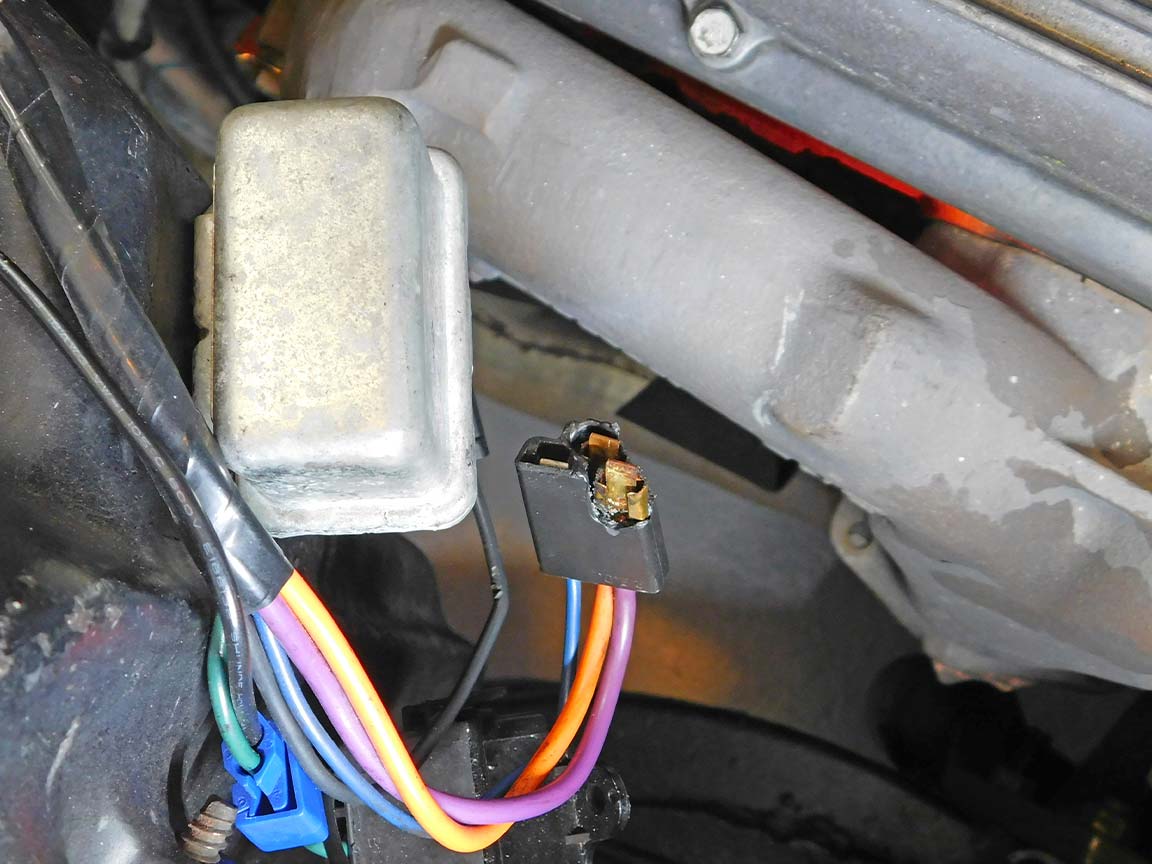
03: Unplug the connectors from the relay. Don’t worry about noting their position; they can only go on one way. Unfortunately, sometimes the plastic connector is melted. It’s located just a couple of inches away from the radiant heat of the exhaust manifold.

04: A poor electrical connection can also cause heat on this relatively high-amperage circuit. If needed, clean the contact area of the wire ends with fine sandpaper or a fiberglass brush.
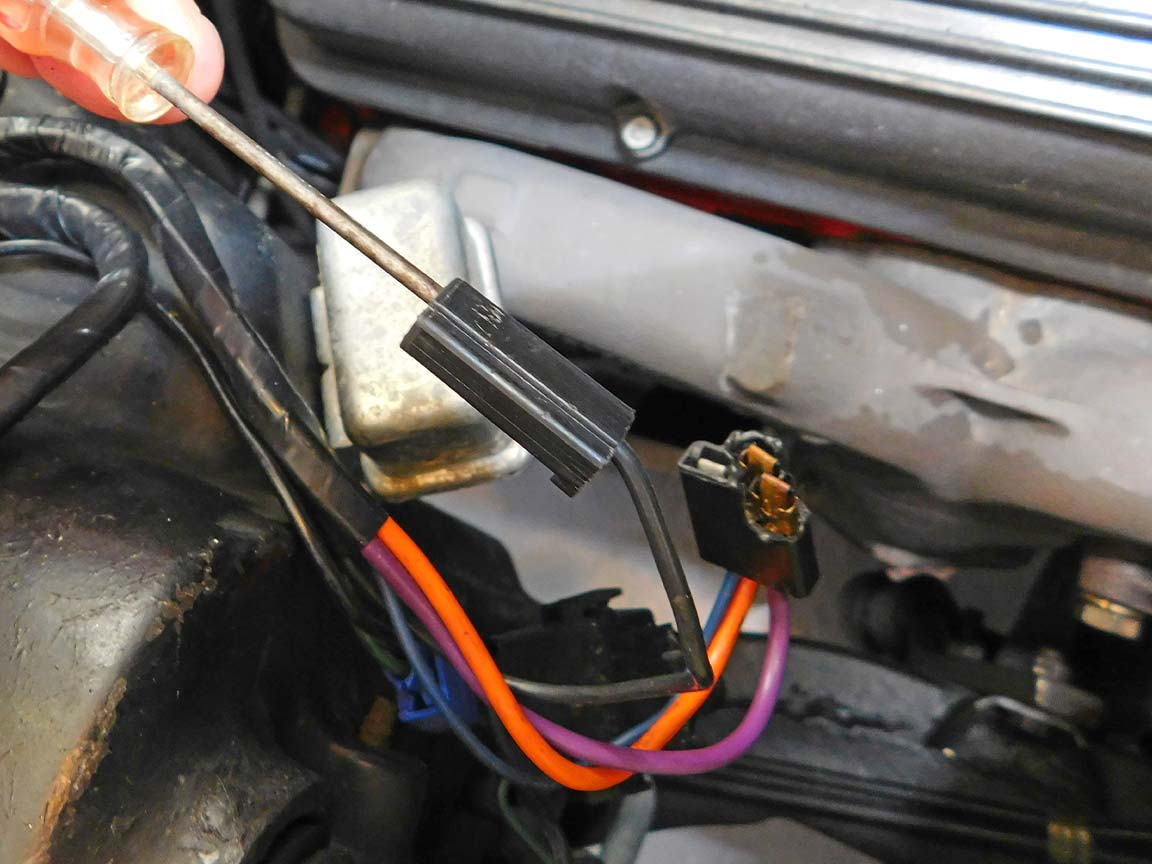
05: Insert a small screwdriver in the channel and then press the locking tab down to remove the wire ends for inspection, thorough cleaning or replacement. Bend the tab back up before reinserting it into the plastic connector.

06: Also inspect the terminals on the relay. On this relay, one terminal was loose, resulting in a poor connection and intermittent operation. The poor connection may have also contributed to the melting of the plastic connector.

07: Fortunately a replacement relay is available from Zip Corvette, 1969-1977 Blower Motor Cut-Out Relay.
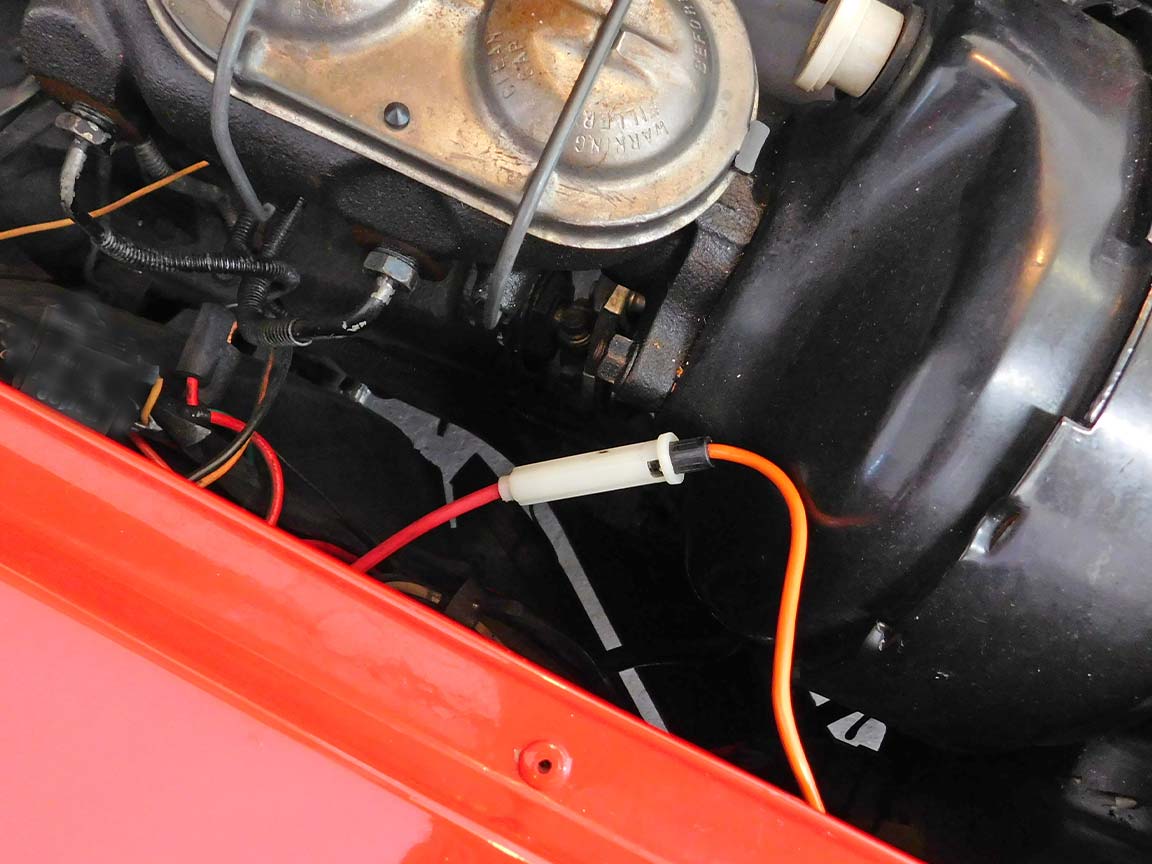
08: The relay’s internal contacts can actually fuse together, although that mode of failure is rare. When that happens, the blower motor runs on high speed even when the ignition and heater switches are off. Tip: Unplugging the inline fuse is the best way to stop it.

09: Tip: If the relay’s attachment screws are stripped, cut, bend and insert a paper clip into the screw hole in the fiberglass housing. Only insert a small length of wire to avoid contacting the evaporator. It may be necessary to use a 5/16-inch wrench to tighten the screws.
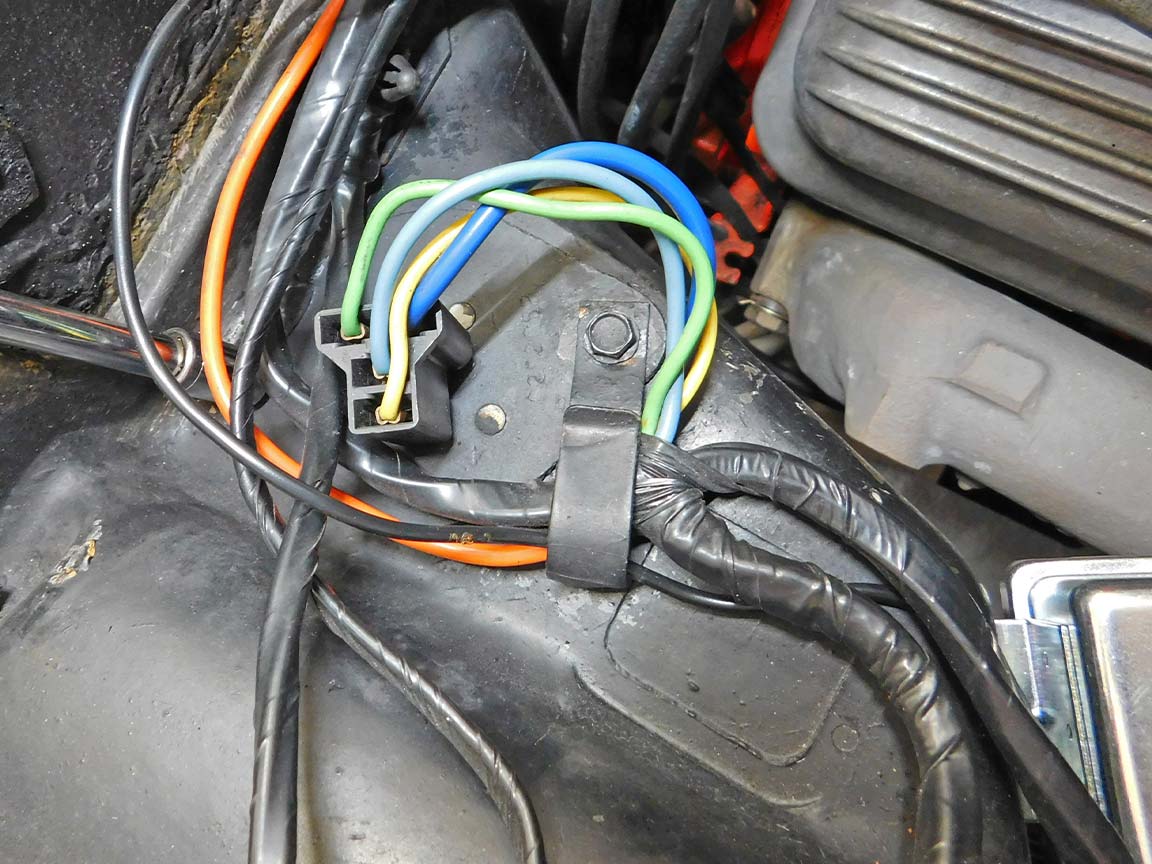
10: If the blower motor works on some speeds but not on others, check its resistor. The resistor is located on the heater box on non-A/C cars and is located on the evaporator box on A/C cars.

11: The resistor uses three different resistance wires (two on non-A/C cars) to reduce the voltage to the blower motor and thus reduce its speed. When a resistance wire is broken, not all the speeds will work. The 1972-1982 with AC Blower Motor Resistor is available from Zip Corvette and is made in the USA.

12: Original style attachments screws, 1963-1982 Blower Motor Resistor Mount Screws, are also available and are made in the USA. These screws are visible in the engine compartment of A/C cars.
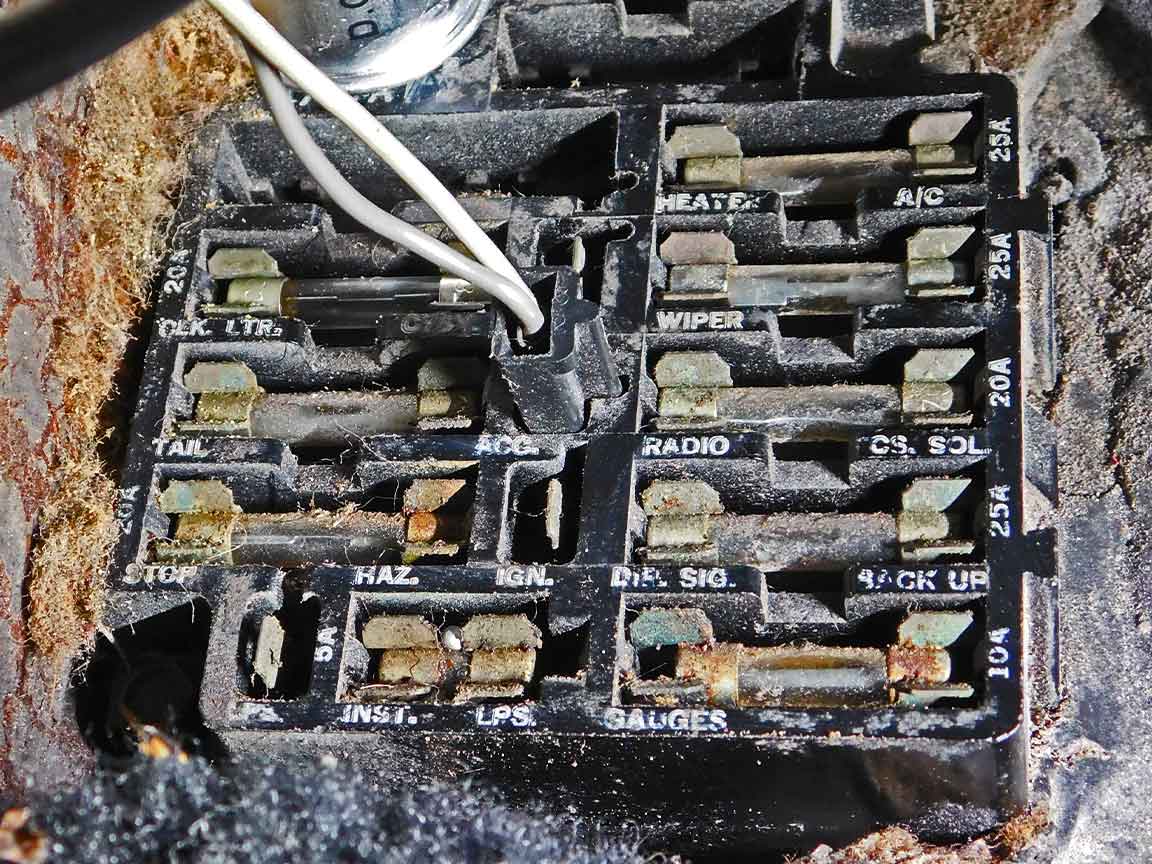
13: If the blower motor doesn’t work at all, first check the Heater – AC fuse (25A) in the fuse panel under the driver’s side dash. Tip: check each end of the fuse with a test light or volt meter to make sure each end has power – it’s faster and a lot easier than removing a fuse.

14: Next, check for power at the wires in the resistor’s connector at each speed setting on the fan switch. If there’s no power here, the problem is in the wiring to or from the switch or in the switch itself. Accessing these requires a little more work but fortunately, these are seldom the problem.
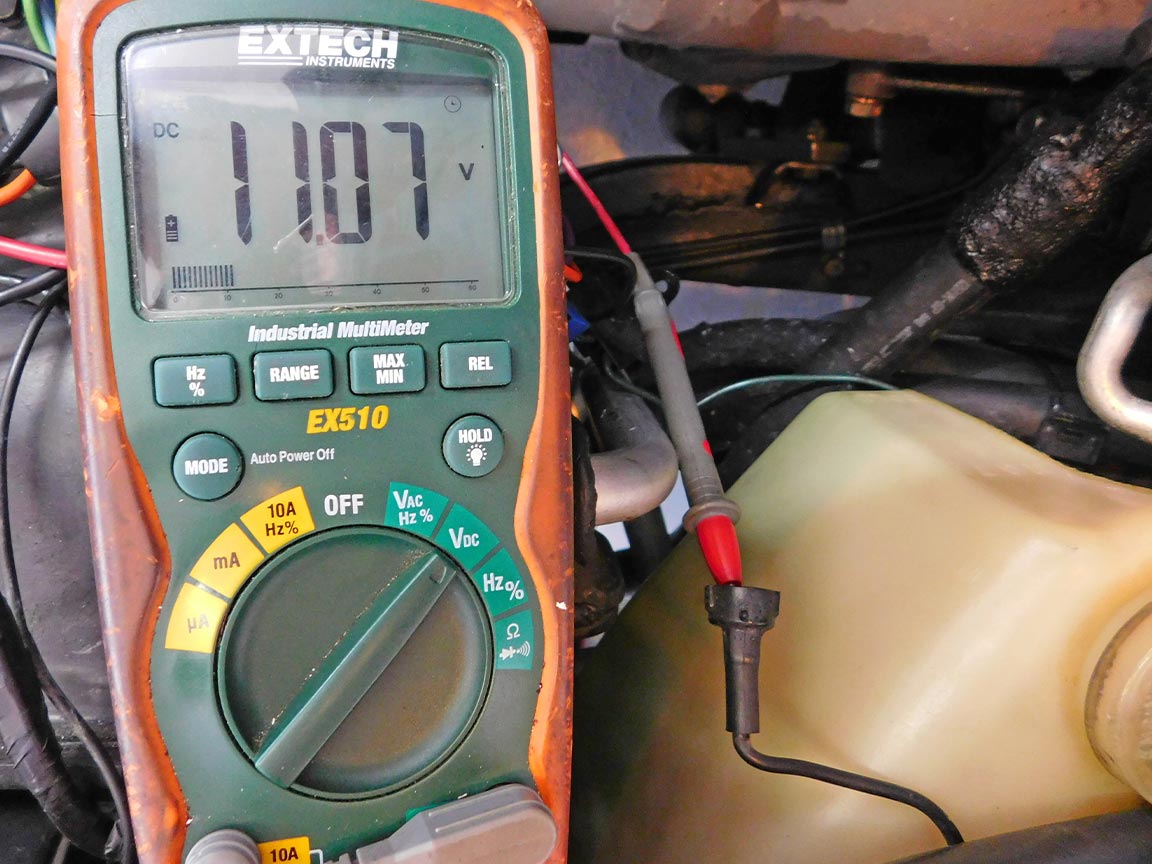
15: If power is at the resistor, unplug the input wire at the blower motor to check for voltage. Make sure the ignition key is in the run position and the heater or A/C is not in the OFF position. To be sure, check for power at each speed setting of the blower switch. If there is an in-line condenser, check for power at the wiring harness at its other end.

16: If there’s power going to the blower motor, unplug its ground wire (black) to test it for voltage. Sometimes the 3/8-inch diameter ground wire terminal at the starter is mistakenly connected to the solenoid. If there’s no voltage there, connect a jumper wire from the blower motor ground terminal to a bare metal surface on the engine. If the blower motor still doesn’t work, and its ground terminal has a good clean connection, the motor needs replacement.

17: Zip Corvette offers a complete 1963-1977E Blower Motor with Fan Assembly. Alternately, new blower motors, fans, and their attaching nuts can be ordered separately. The blower motor has plastic plugs installed in two ports for a cooling hose when used. It is a genuine GM part made in Canada.

18: New motor mounting screws are available as a set, 1963-1979 Blower Motor Screws & Terminal. Blower Motor Replacement is shown in Zip Corvette’s tech article 1977-1982 Corvette Air Condition Blower Motor Replacement.
1963-1982 Corvette Blower Motor Troubleshooting and Repair
Source: Zip Corvette Parts
8067 Fast Lane | Mechanicsville, VA 23111 | (800) 962-9632
Corvette Parts List Related to Article:
- 1969-1977 Blower Motor Cut-Out Relay
- 1963-1977E Blower Motor w/Fan Assembly
- 1963-1979 Blower Motor
- 1964-1982 Blower Motor Fan Nut
- 1963-1979 Blower Motor Screws & Terminal
- 1972-1982 w/AC Blower Motor Resistor
- 1963-1982 Blower Motor Resistor Mount Screws
Related Tech Articles:
Very Good Inspection Process. Straight Forward
Great troubleshooting instructions . Got me back running . Thanks much.