The Magnaflow stainless exhaust system we’ll be installing comes with a very helpful set of instructions, and before starting, it’s important to review and understand those instructions. First, we disconnected the vehicle’s battery. You can make this easier by using a battery quick disconnect, which also helps protect your battery from parasitic draw and long-term storage. Disconnecting the battery also resets the ECU which is important when changing exhausts. You’ll also want to disconnect and remove the driver’s side oxygen sensor to prevent damaging it. If your sensors are worn or damaged, now is the time to change them.
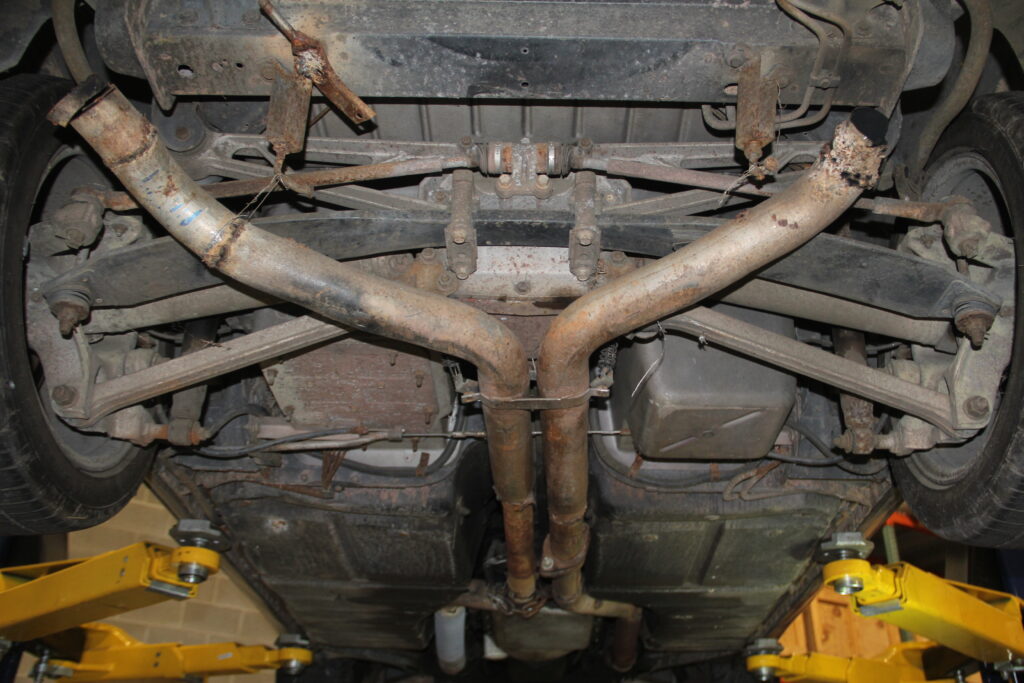
 This 1993 C4 Corvette did not have the factory exhaust when we started on it, but the manufacturer states to remove the X shaped cross member for easier access to the exhaust. We did not end up having to do this, but you may want to. Next address the rear muffler insulators. It’s easiest just to unbolt them from the vehicle, then proceed to drop with the rest of the old exhaust and then pry off and reinstall once removed from the old mufflers.
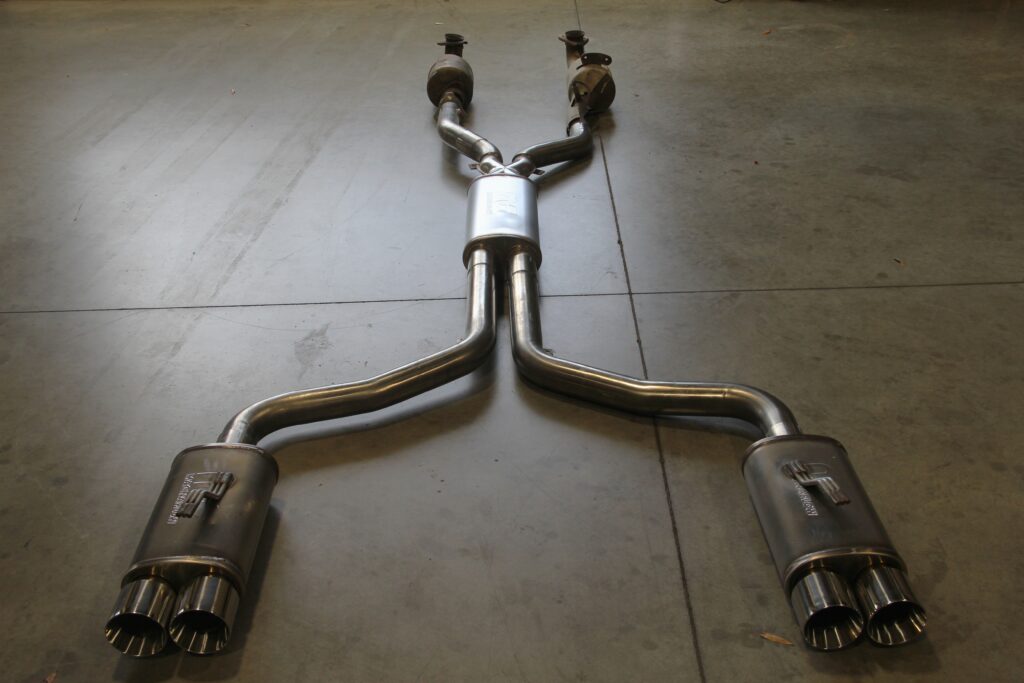
This Magnaflow Performance
Exhaust is a cat-back system, so you will be retaining your factory manifolds and
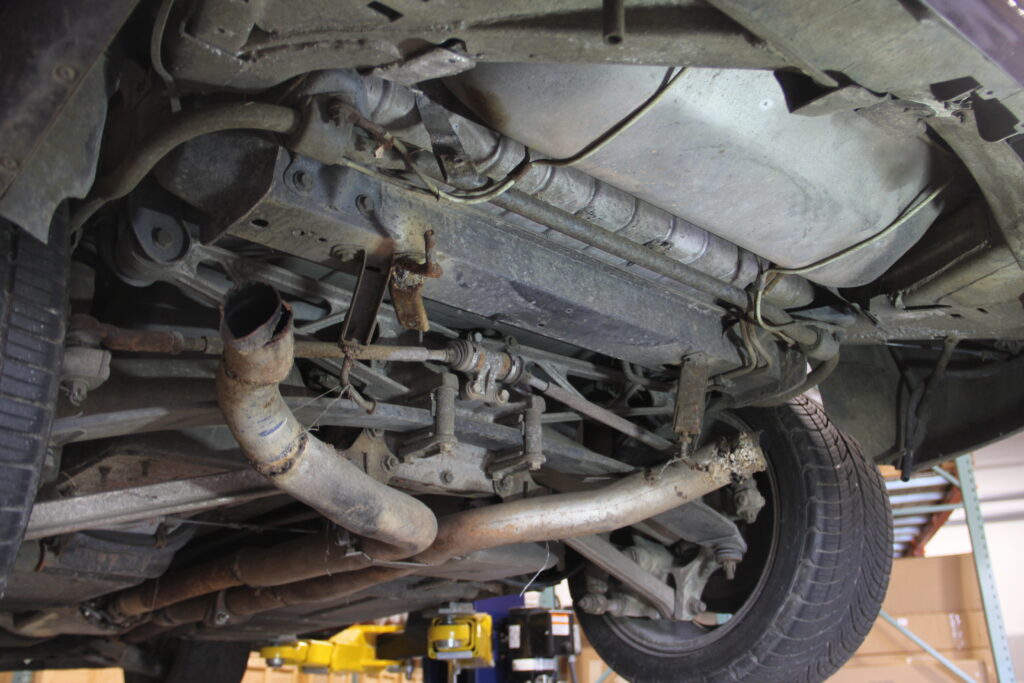
catalytic converters, as shown in the photo below. Even though this system comes with all the hardware you should need, It’s best to keep all hardware and parts on hand until the project is complete – just so you don’t scrap a piece you actually needed!
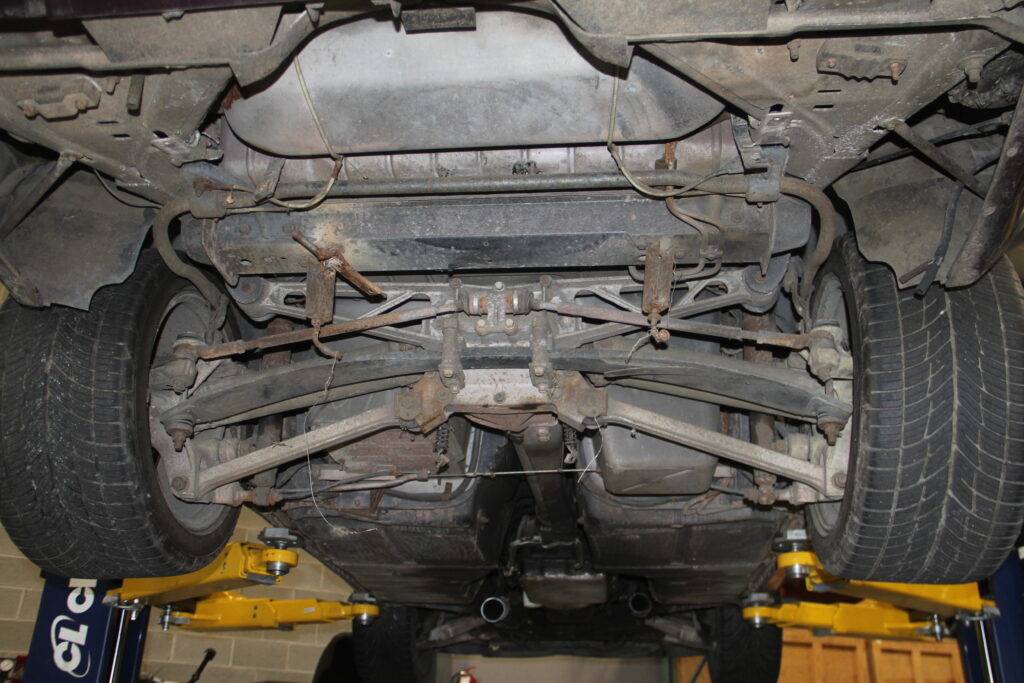
Unbolt the front flange where the factory exhaust system bolts on to the drivers side catalytic converter, and then undo the band clamp from the passenger side tube assembly. Finally, remove the exhaust from the center and rear spring loaded hangers. Carefully lower the exhaust from the vehicle.
2. While you’re in there
There are many “while you’re in there” tasks that can be done with the
exhaust dropped. We chose to do a transmission pan drain and reseal/refill with our
transmission filter kit. The
oil filter housing is accessible if you have any leaks to address, as are the sensors on the transmission. Removing the
exhaust manifolds, at least enough to change out a leaky
gasket, is a great idea at this point. If you have a bad engine/
motor mount, you have access. And finally, the driveshaft and differential are more accessible if you’d like to get some fresh
limited slip differential fluid or swap out a leaky
pinion seal or crunchy
u-joint. Zip Corvette has all these parts and many more to help you keep your C4 Corvette on the road for many more miles!
3. Installing the Magnaflow Performance Exhaust
Begin installing the new system by reattaching the OEM muffler hangers to the new Magnaflow mufflers. If the rubber on your hangers is worn, prevent noise and protect your new system by installing new
rubber isolators.
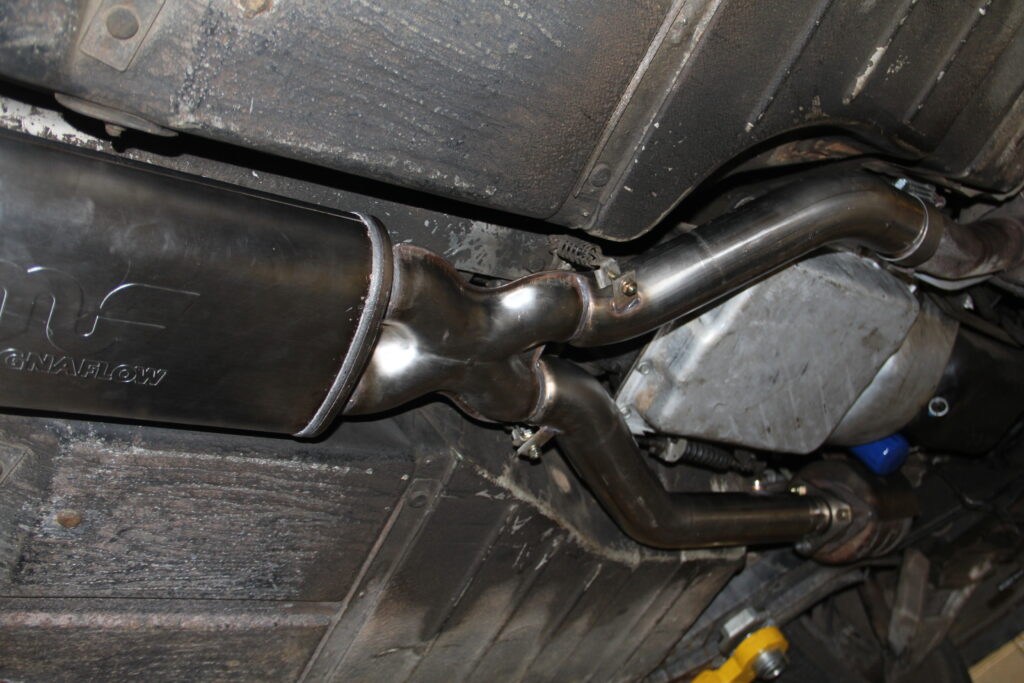
Fasten the inlet pipe to the driver side catalytic converter extension using the hardware you removed. The LH (driver’s side) catalytic converter has a ball and socket fit in lieu of a gasket, so make sure the sealing surface is clean and smooth – use a gentle abrasive pad or other similar material to ensure a perfect fit.
If you feel the existing surface has a bit of rust or isn’t smooth enough, you may want to consider a thin layer of high-temp exhaust gasket sealant for extra security. The ECU of the LT1 Corvette is highly sensitive to exhaust leaks, especially before the oxygen sensors. Any exhaust leak is unsafe and unpleasant, and will deprive you of getting the full, rich sound out of your new mufflers!
As you work, leave all fasteners and clamps loose enough to allow some wiggle room until you get the final fitment. Install the resonator assembly to the muffler hanger using the OEM hardware.
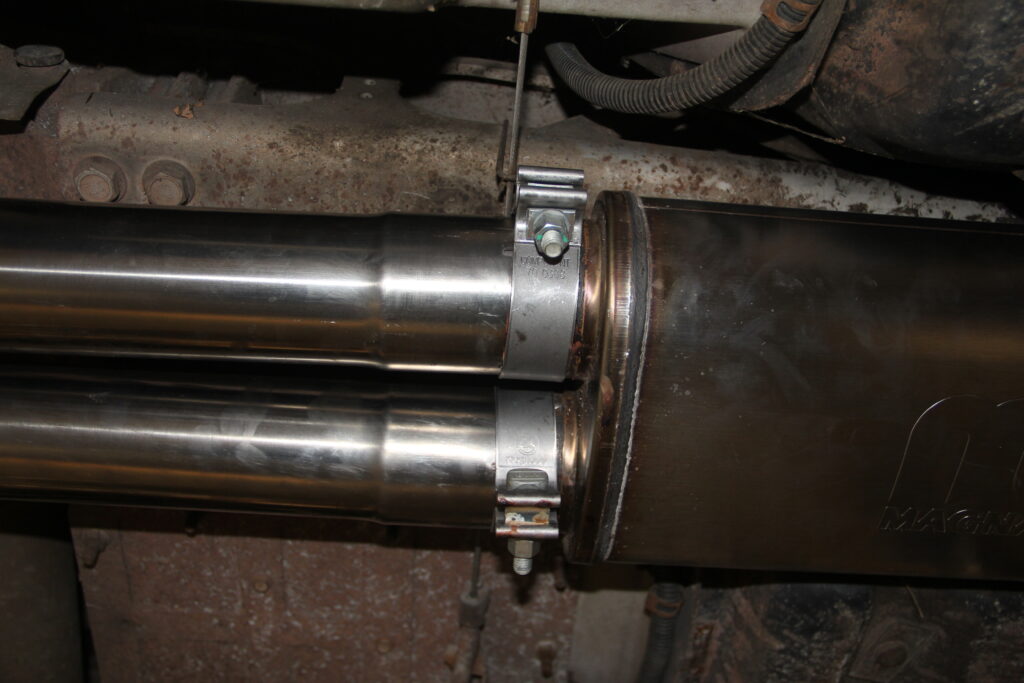
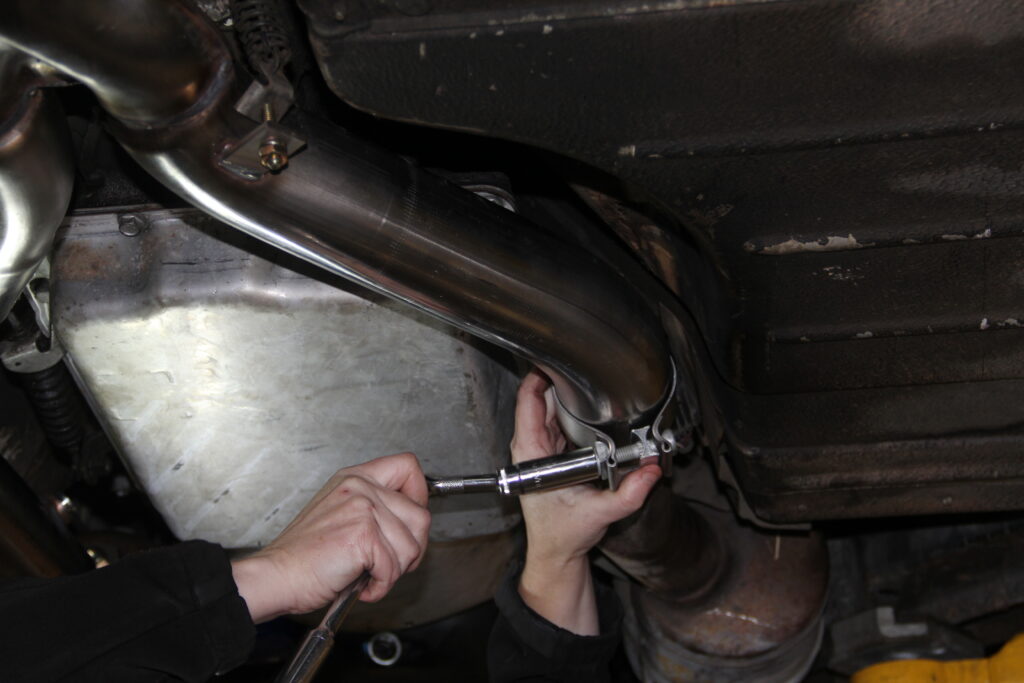
The system comes with all the clamps you need, but please note that one clamp between the passenger side catalytic converter and the resonator is 2.75″ whereas the other 5 are 3.00″. You should be able to visually identify the smaller clamp. Install the driver and passenger mid pipe assemblies with the band clamps in a similar fashion.
Make sure the band clamp nuts are easily accessible to make for easier tightening later.
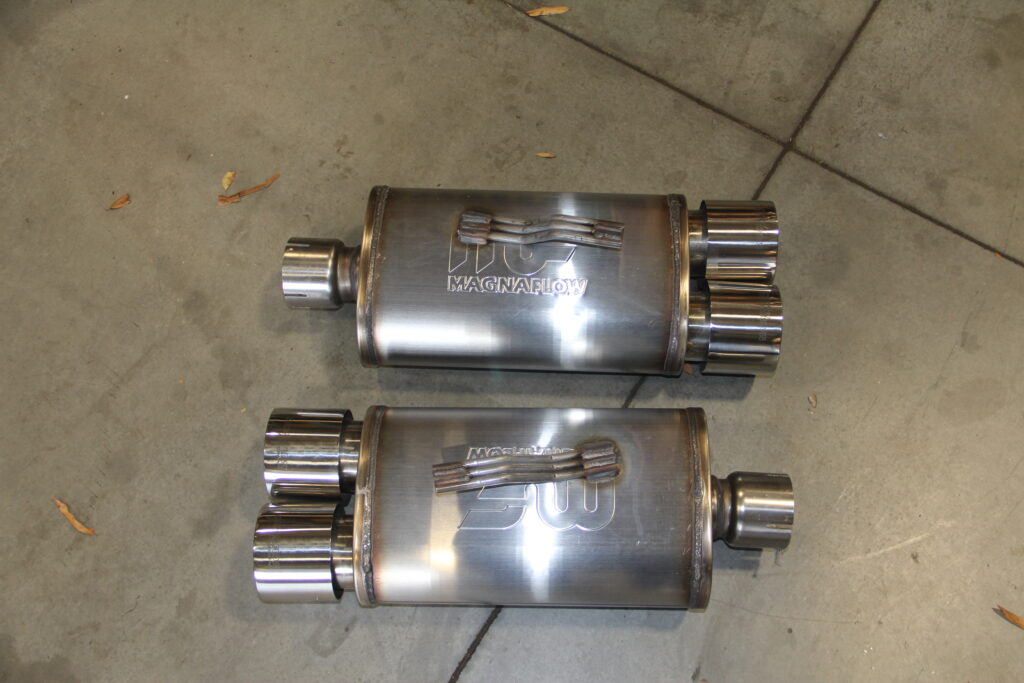
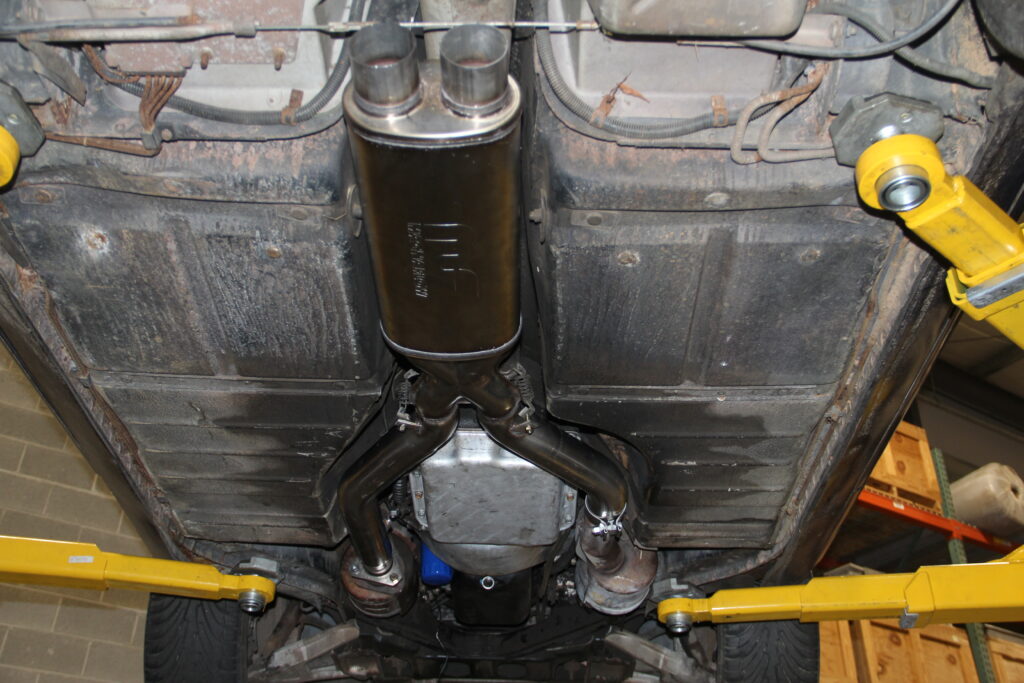
Finally, install the muffler assemblies. Shiny!
With everything mounted loosely, visually inspect the system and adjust for aesthetics and frame /bodywork clearance.
Magnaflow recommends 1/2″ of clearance between the system and body panels to prevent heat damage or fire.
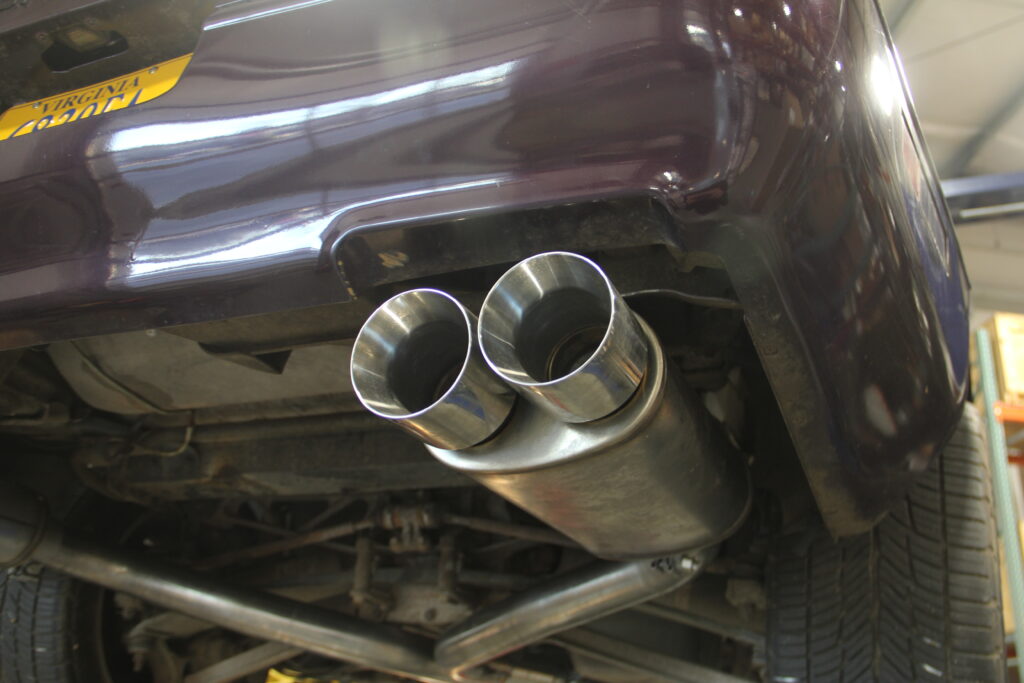
Once you’re happy with the position, evenly tighten all fasteners from front to rear. Reinstall the driver’s side O2 sensor and reconnect the harness.
Depending on the vehicle’s year, you may not have an O2 sensor in the supplied bung, so Magnaflow helpfully provides a sensor plug if needed. Torque the band clamp fasteners to 40 ft-lb to prevent leaks and align the pipes. Recheck all fasteners after 25-50 miles and retighten if necessary.
Enjoy the sweet sounds of your new Magnaflow Stainless Exhaust! And don’t forget to send back the Magnaflow warranty paperwork so you’re protected for many years to come.